

It Takes Two Walkthrough Space
Chapter ii of Information technology Takes Two is known as The Tree and it features a few sections as well.
It Takes Two is a new EA game which allows y'all to play this game with a partner or a friend.
Here's a walkthrough and guide of The Tree (chapter 2) in It Takes Two.

The Tree (affiliate ii) walkthrough and guide
Fresh Air
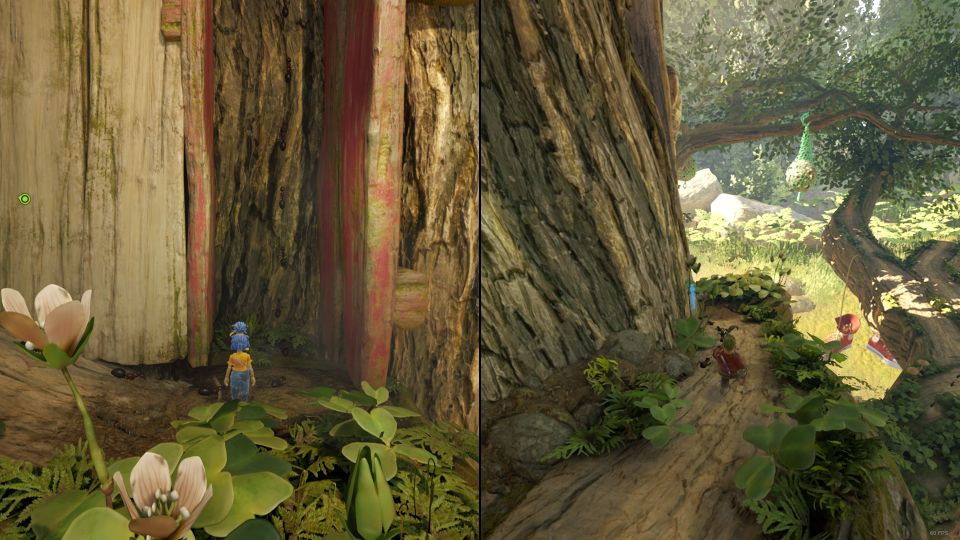
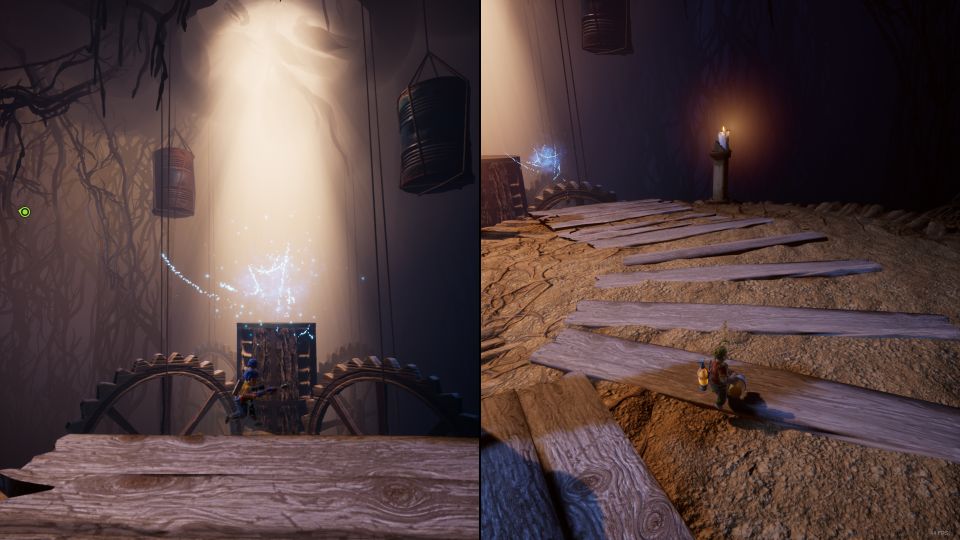
The first section of this chapter is named Fresh Air.
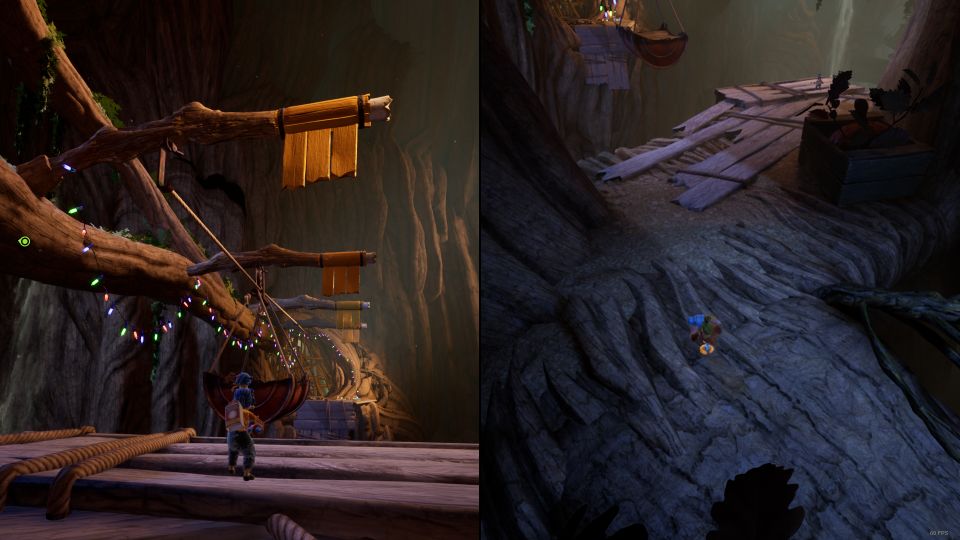
Y'all will offset at the tree surface area. Here, you but need to learn how to use the ropes to swing from 1 branch to another.

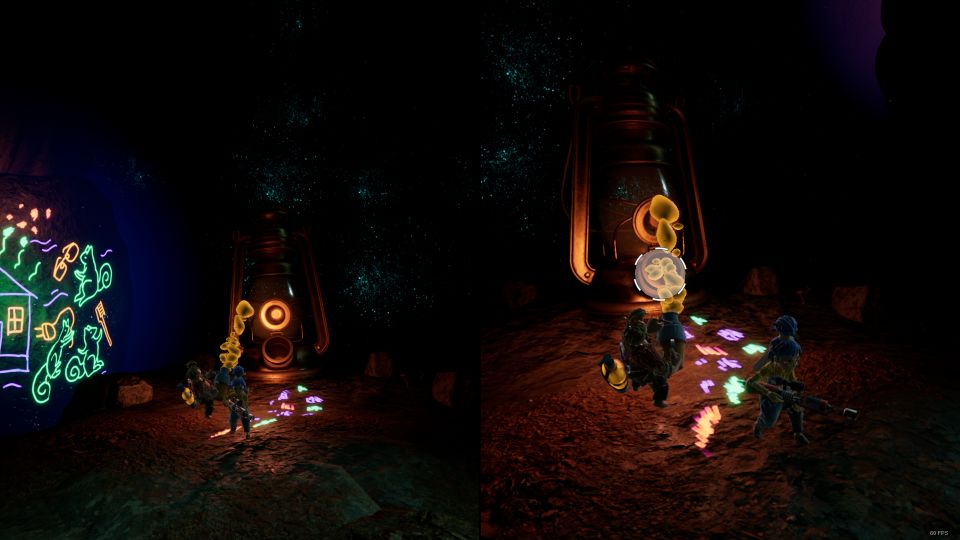
You may also discover paper planes all around the tree. Not sure what they're for, possibly simply for fun.

Go on swinging from 1 branch to the other.

You will then reach a dead stop. Use the scarlet walls to jump and bounce to the top.
In the next role, utilise the swing to accomplish the next area.

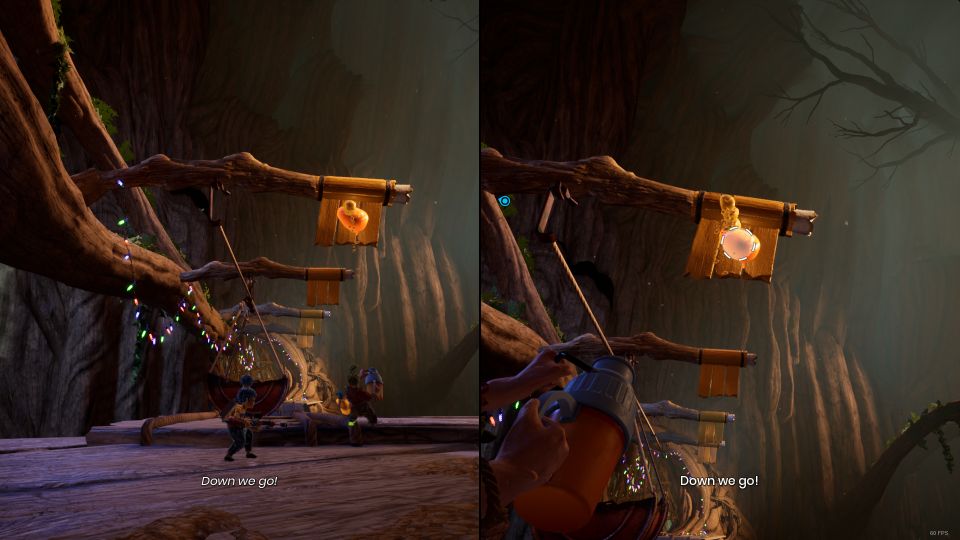
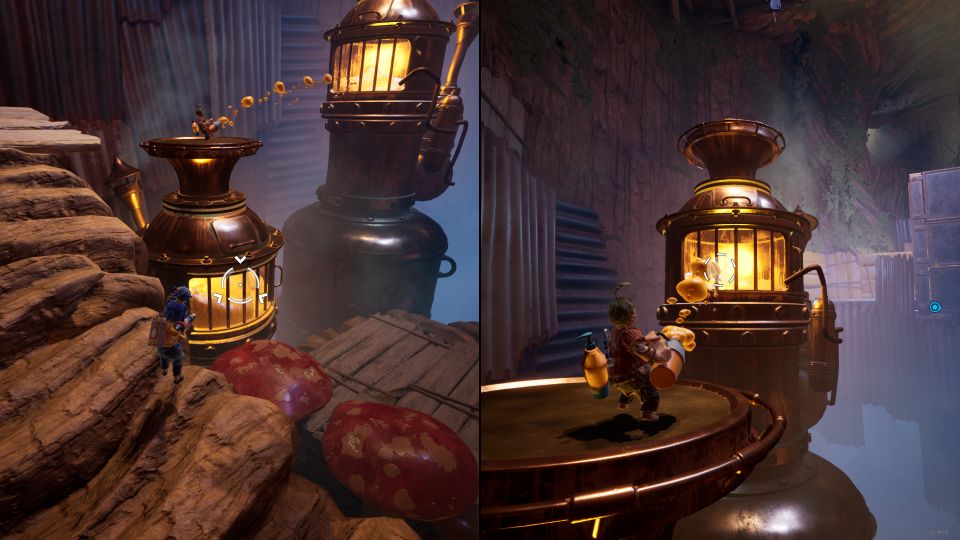
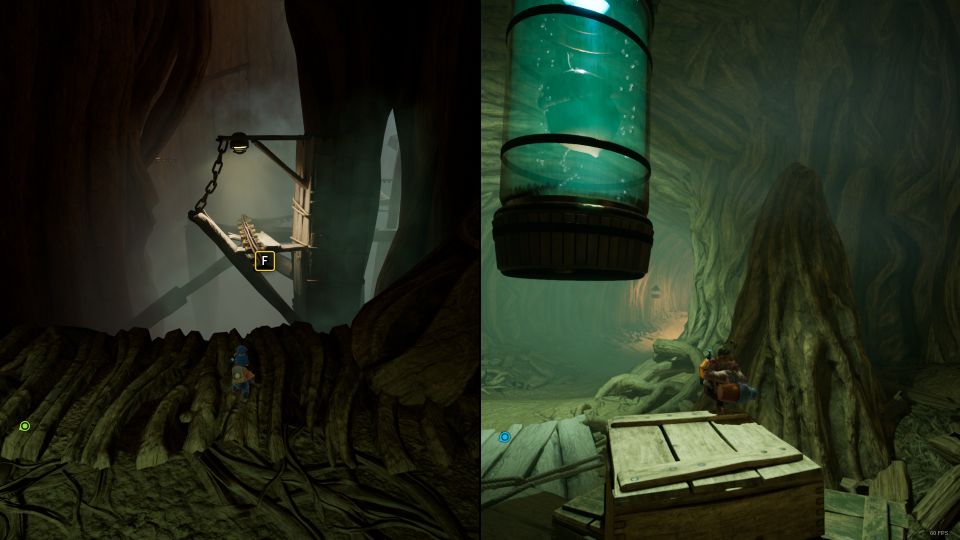
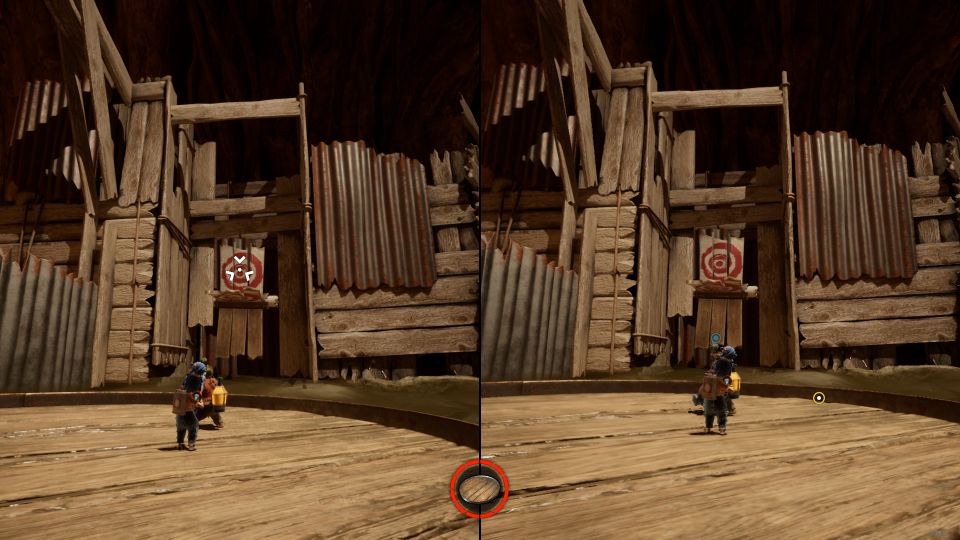
Go along going until y'all accomplish the treehouse. Open it by using the pulley.
Y'all will then activate a cutscene with squirrels.

Captured
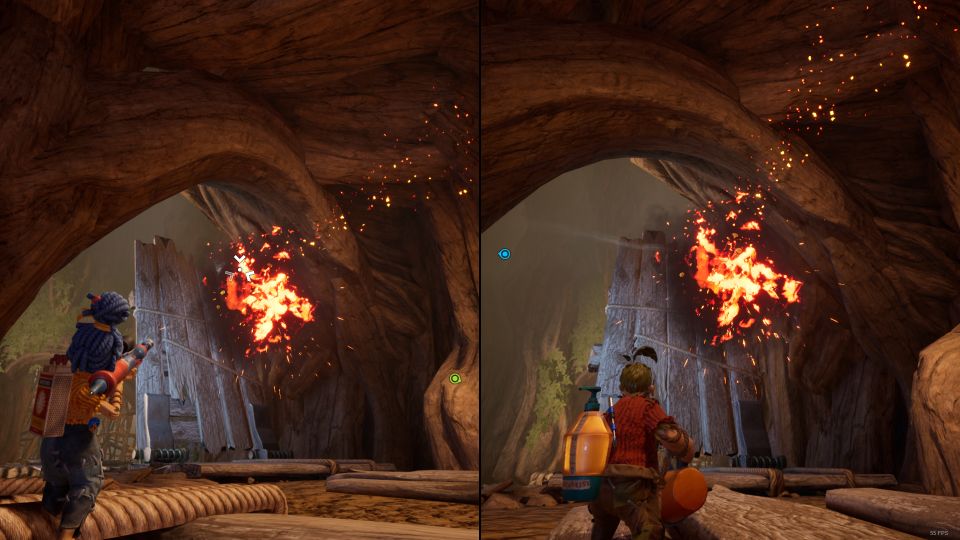
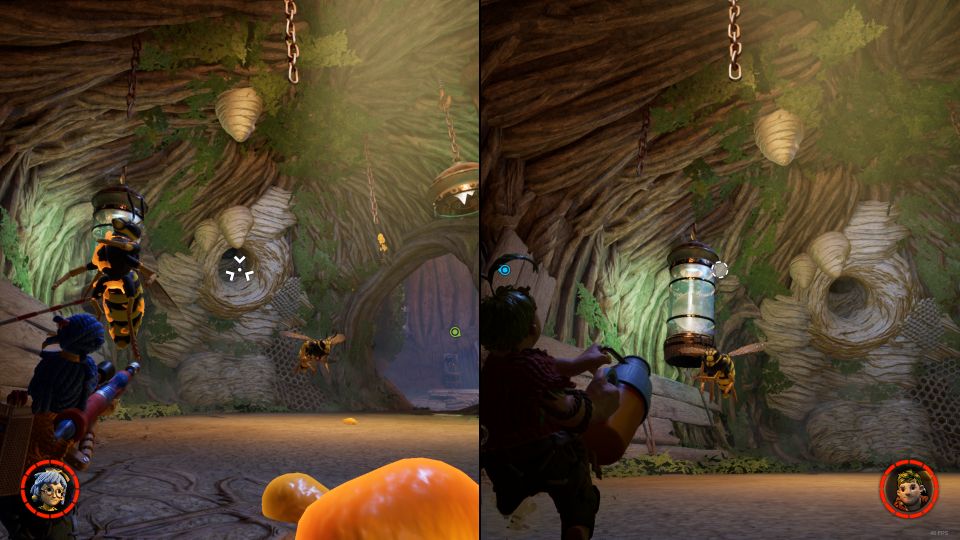
After getting captured by the squirrels, you'll exist given guns. Cody will hold the sap gun while May holds the gun to explode the nectars. This function requires more teamwork.

Destroy the wooden sticks using the two different launchers / guns.

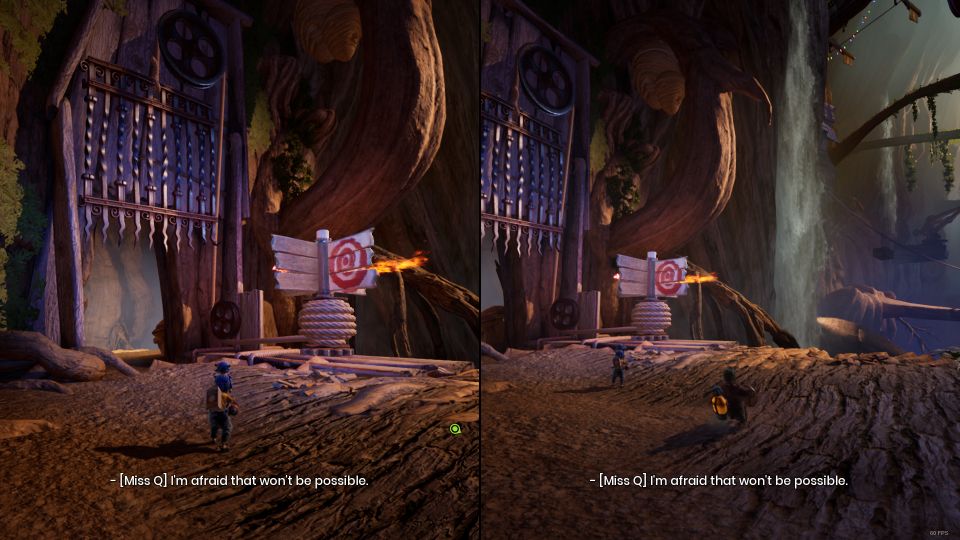
Y'all will now achieve a target do area which is probably optional.

In the next surface area, May has to shoot the target to open the gate.
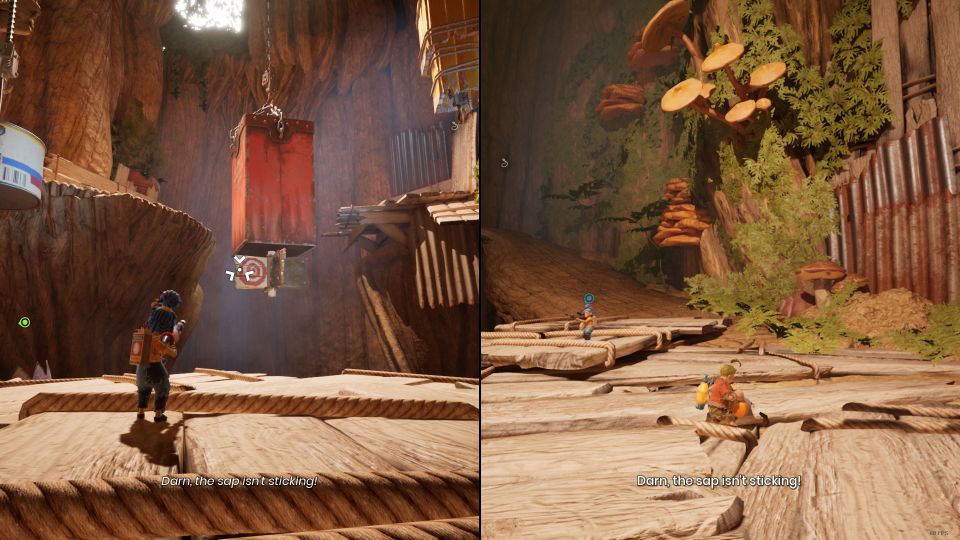
Yous volition at present achieve a wooden bridge that's elevated. Cody has to shoot sap at it to weigh the bridge down.

Climb the bridge to the other side. On the other side, you demand to use the span again, but this time to get to the upper platform.
May has to explode the sap beginning. Use the span up.
May has to shoot the target.
In the side by side expanse, use the sap on the moss and burn information technology with May's weapon. The bridge volition come downwardly.
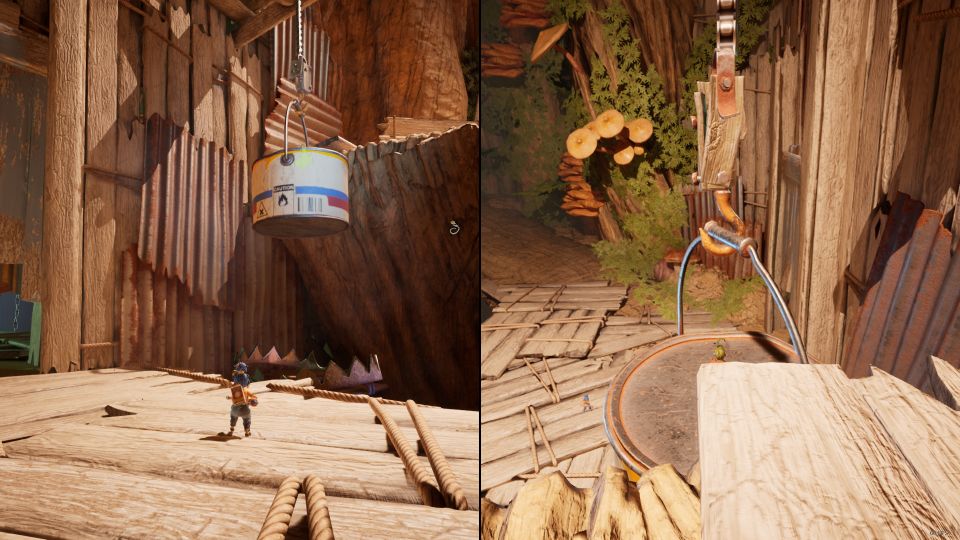
Y'all will then reach a steel container. Apply sap to weigh it downwardly and get onto the container. Destroy the sap and yous'll become to the top.
Once you're on the wood, place more sap to bring the container down. Climb the pinnacle of the container, destroy the sap again, and you'll exist able to reach the next path.
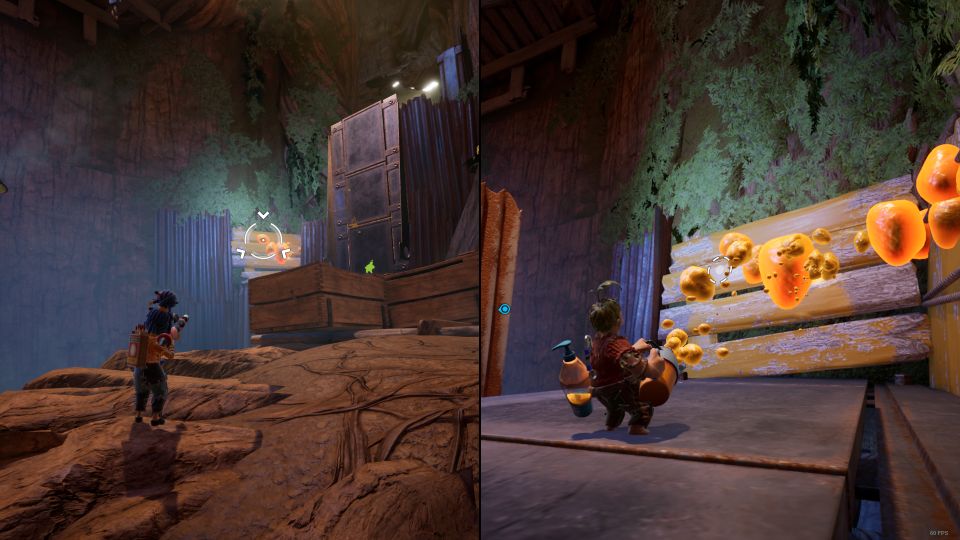
Yous will now reach an area with a red box.
Cody needs to shoot the yellow thing on the correct to permit him to go up.
Side by side, Cody has to jump onto the wall of the red box.
May and so shoots the target to move the blood-red box and Cody will exist able to jump to the other side.
Cody then needs to jump onto the paint can until it reaches the bear trap.
It will and then open the gate beside it.
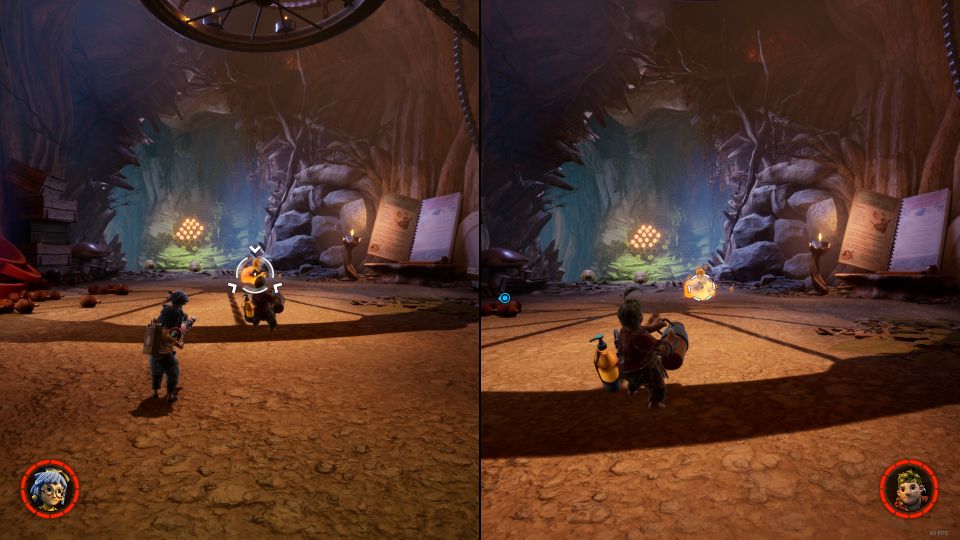
In the next office, you'll meet some yellowish platforms and also a button nearby. Miss Q will ask y'all not to press the button, but yous can and it's purely for fun. It'due south not related to the primary story.
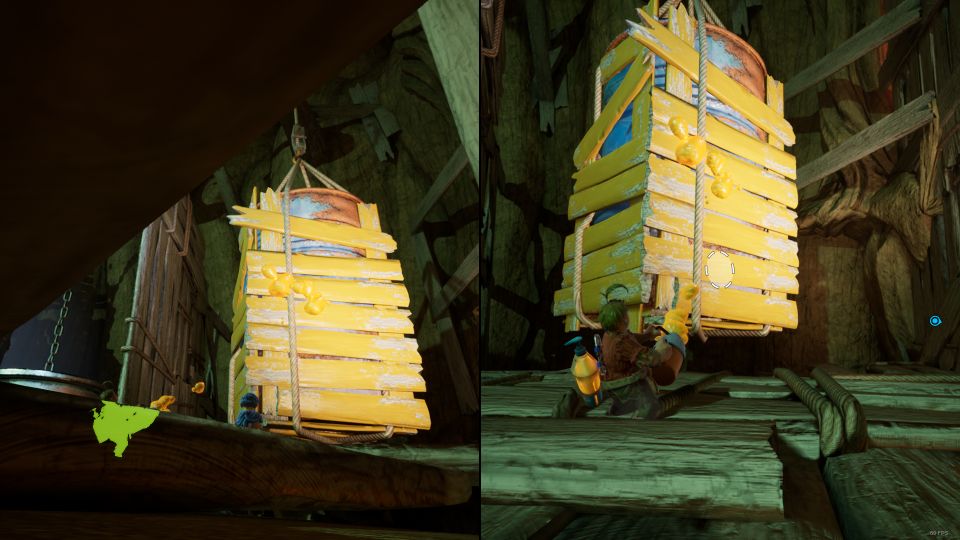
Back to the actual story. May has to stand up on the platform beside the wooden wall. Cody then shoots sap onto the barrel covered by yellow planks.
This will push button up the platform that May is on.
May needs to jump to the left side yellowish cantankerous.
To become towards the left, Cody has to shoot sap onto the yellowish platform to move information technology counter-clockwise. This allows May to jump to the next platform on the left.
Echo this procedure.
May will then reach a target. Don't shoot information technology starting time.
Permit Cody stand on the platform right below the target. Shoot the target and Cody will go up.
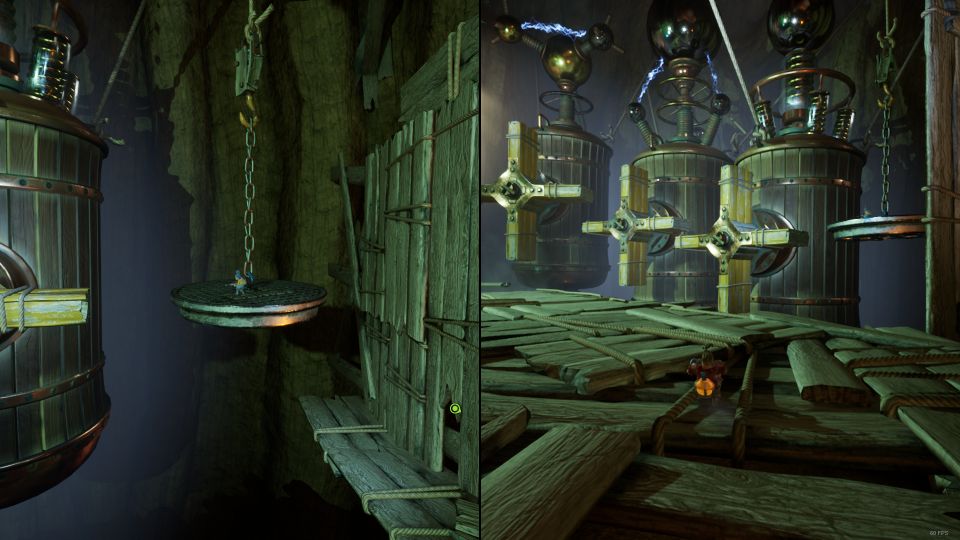
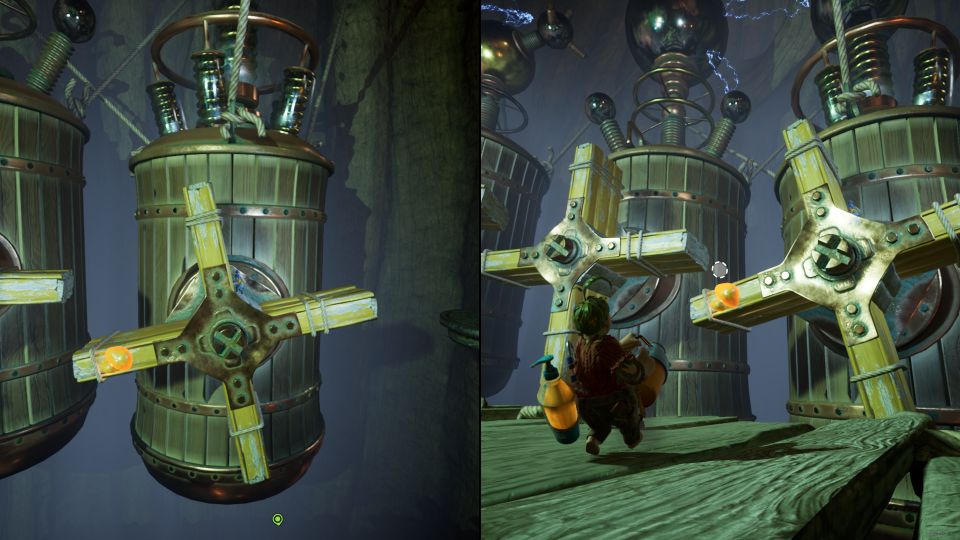
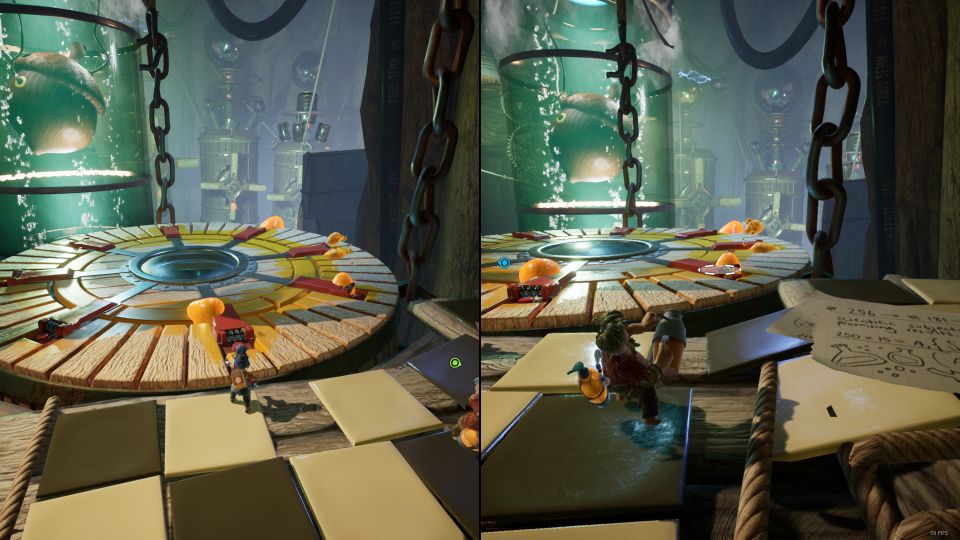
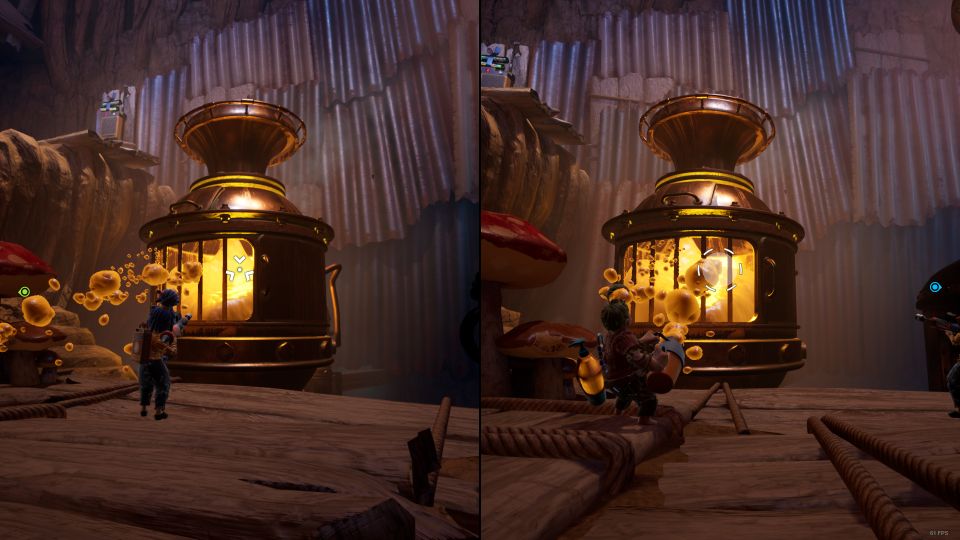
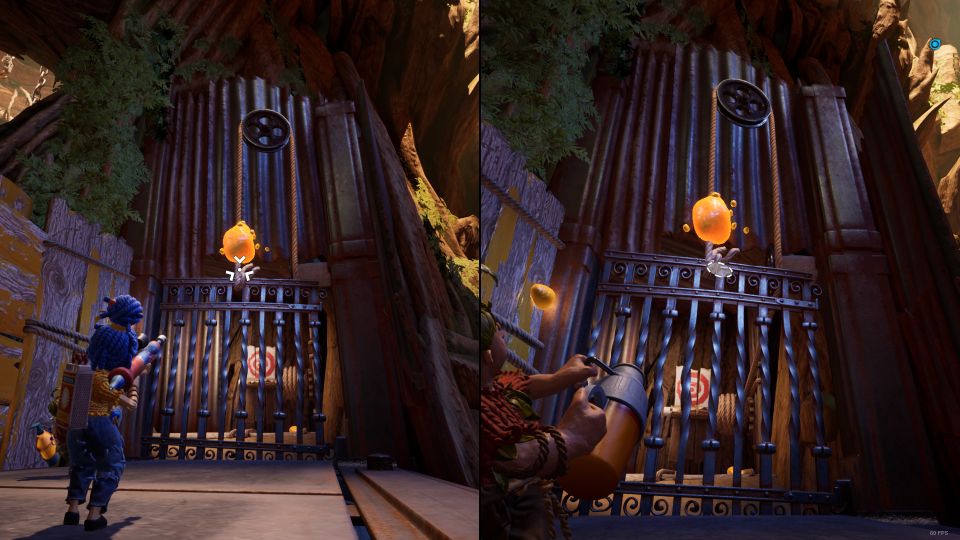
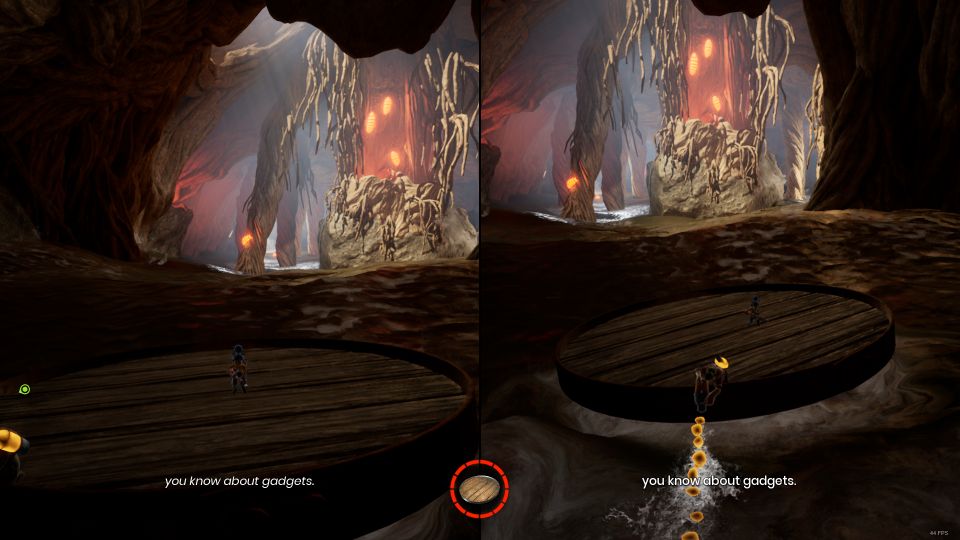
You volition now run across a blackboard with a unique looking tank.
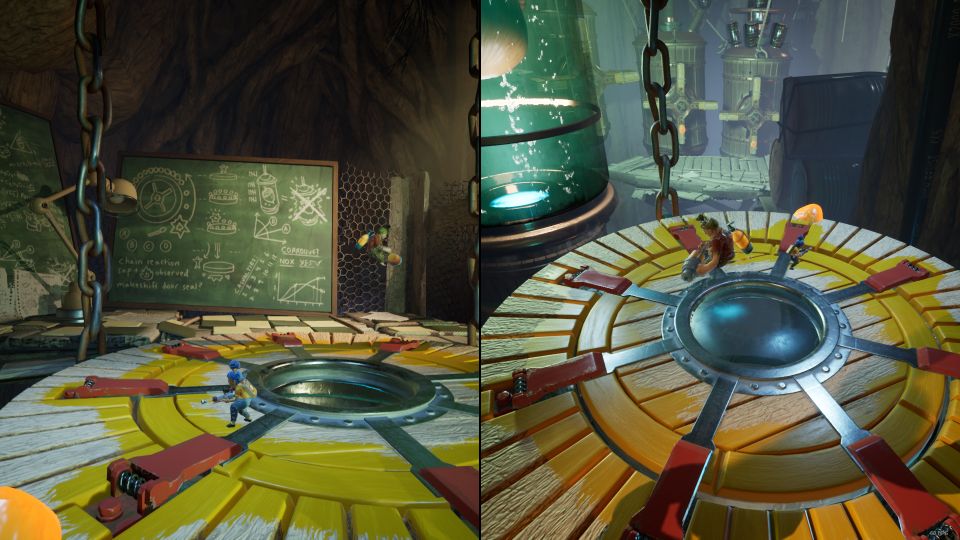
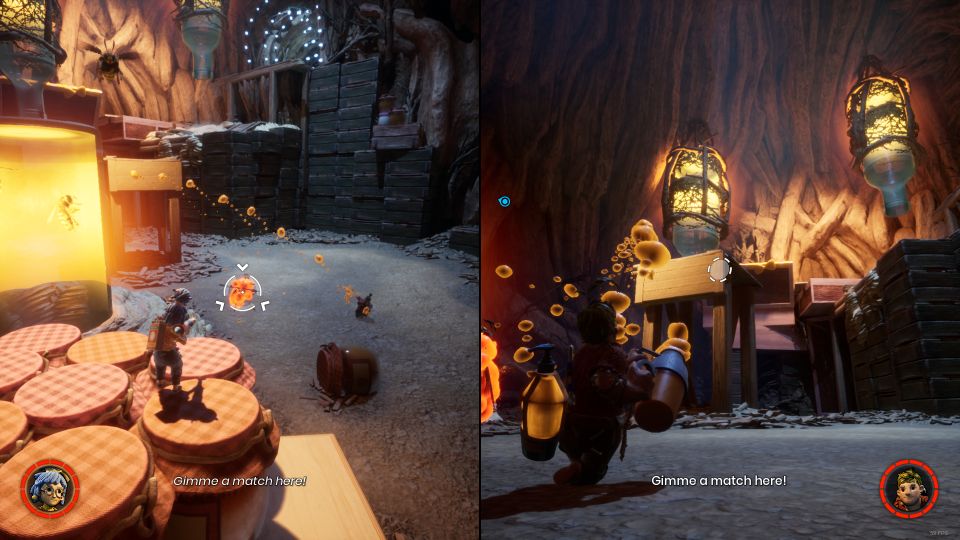
To break the lid, Cody has to spray sap all effectually the red-colour locks. Connect the sap in a way that you can explode information technology all at the same time.
May then has to shoot the sap and all of the ruby locks have to open at the aforementioned time (through the explosion).
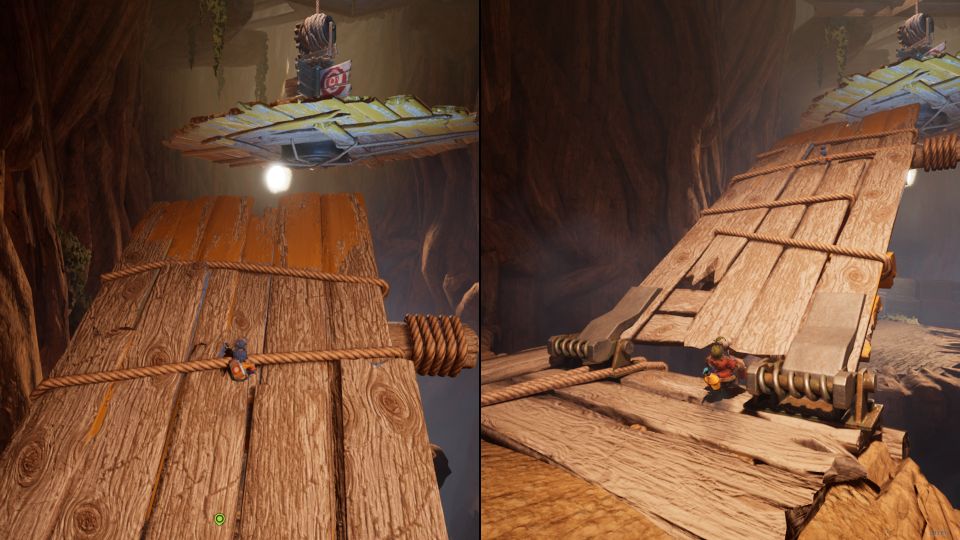
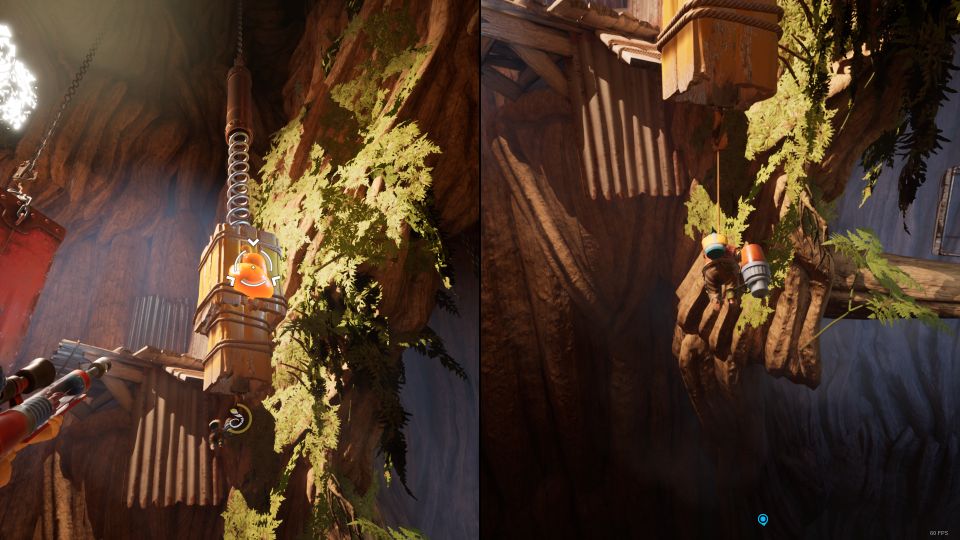
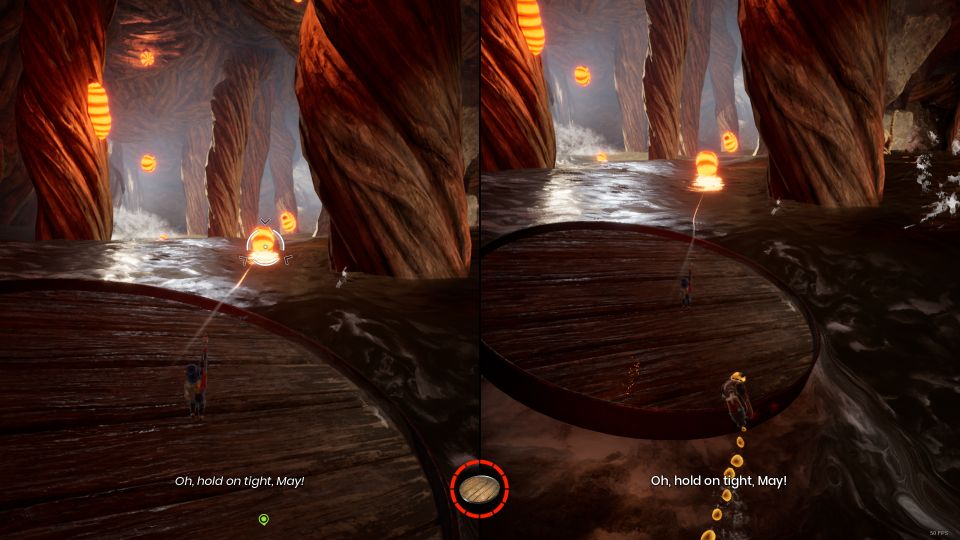
You will now reach the next area. Here, Cody has to shoot sap at the first wooden plank at the top.
This will brand the platform come towards y'all. Shoot the sap to remove it.
Cody now has to shoot the sap at the other 2 planks nearer the other side to permit the transport to move forward.
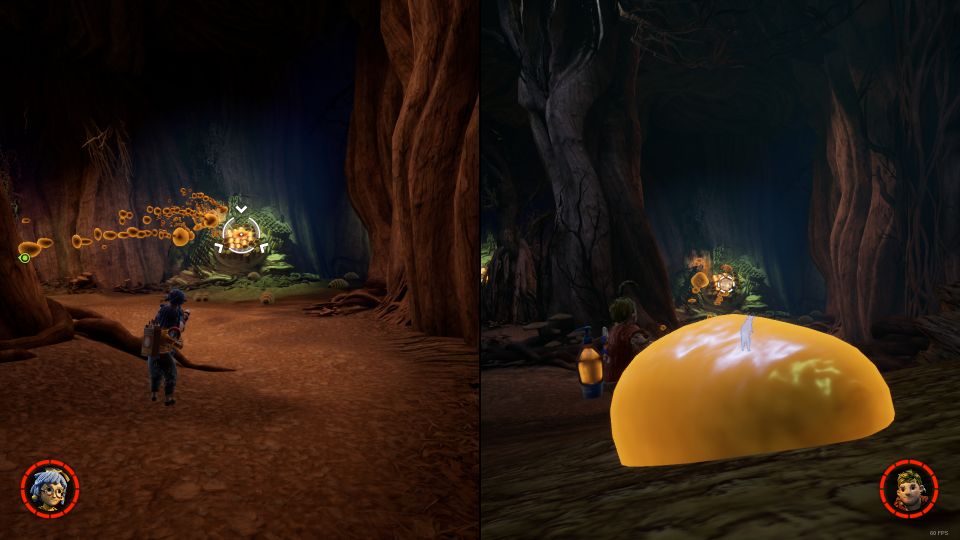
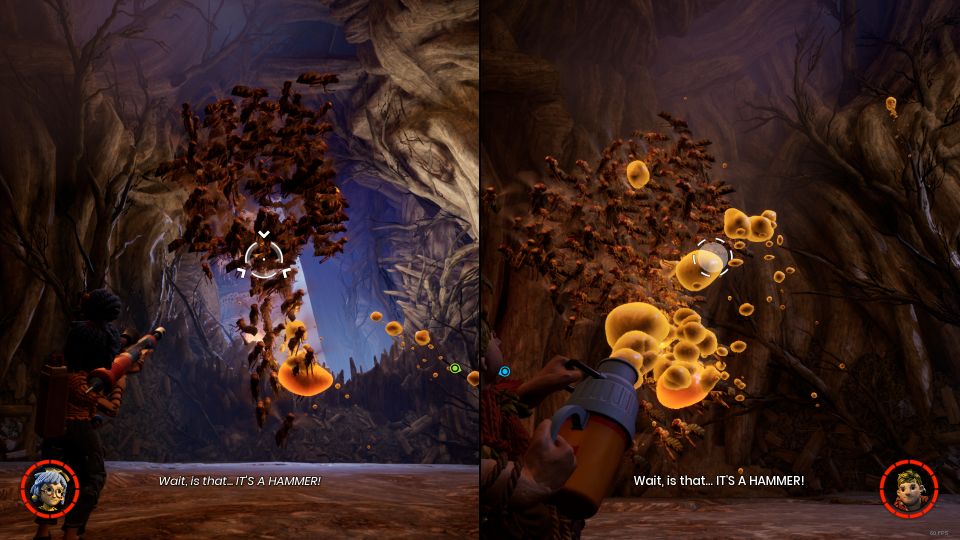
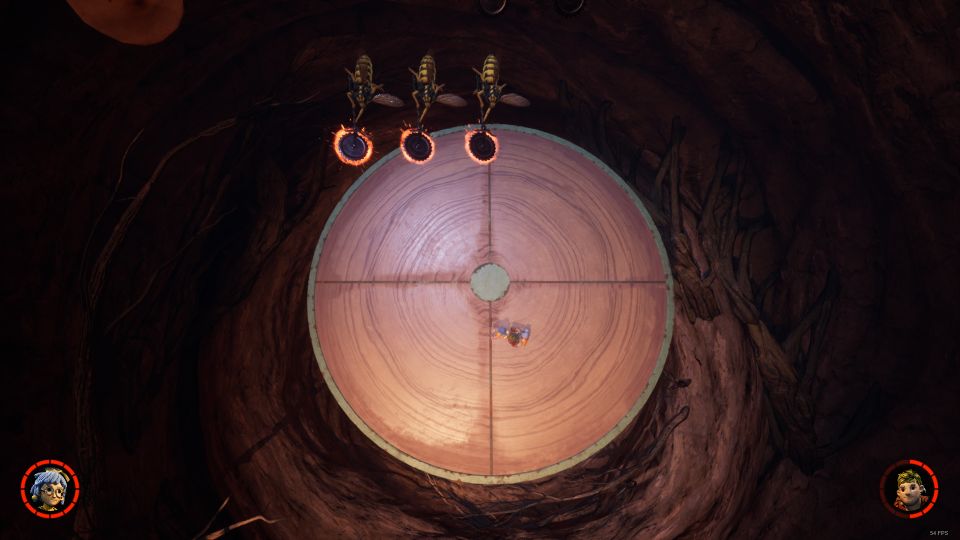
You will now come across a few wasps. Destroy them with the sap and fire combination every bit usual.
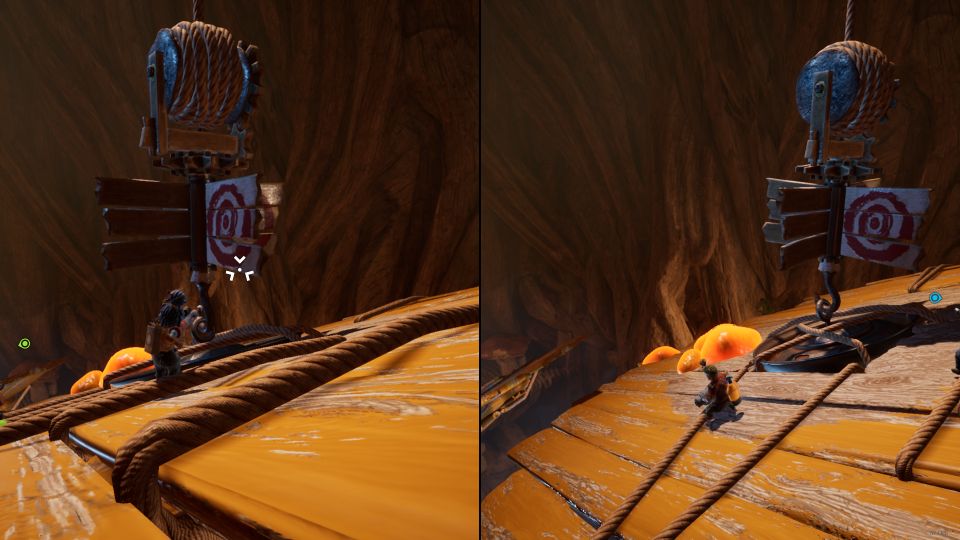
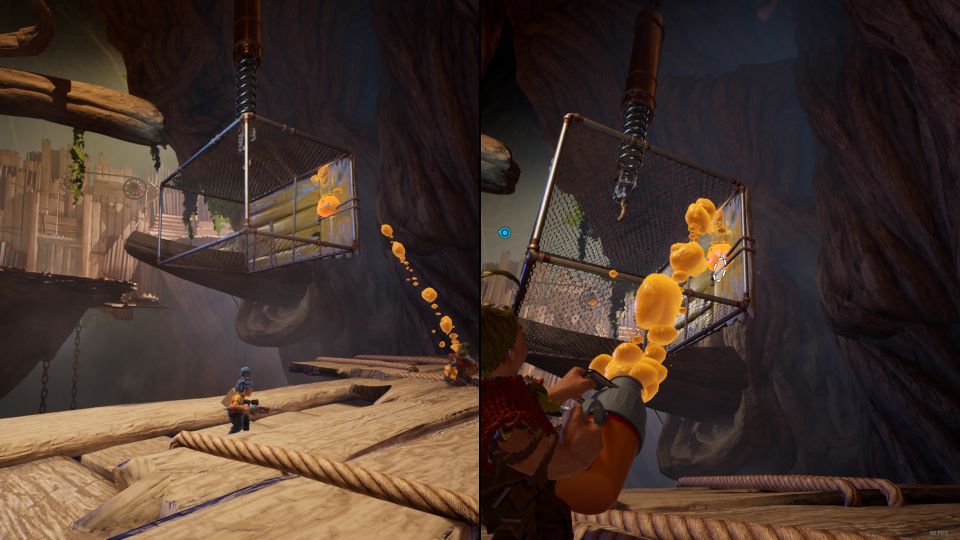
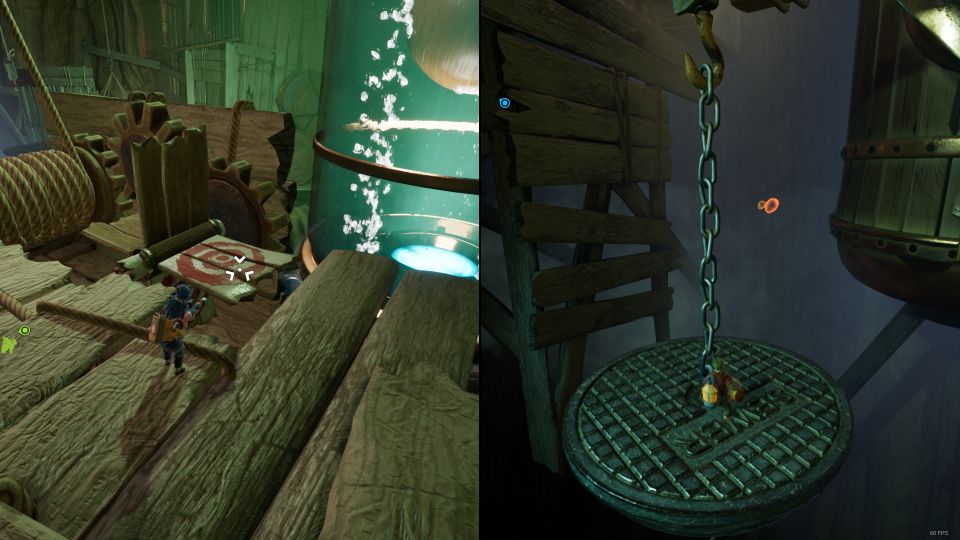
You will now reach a part with two containers. Shoot a load of sap into both of these containers.
So, Cody has to stand up above the first container. May has to shoot the sap and information technology'll allow Cody to fly upwards to the next container.
Shoot the next container to practise the aforementioned matter.
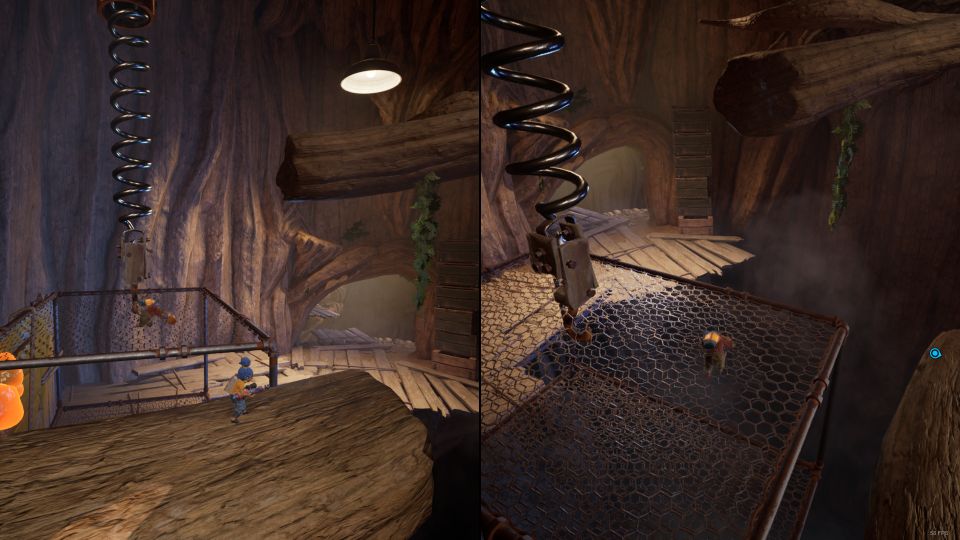
Once Cody is at the top, he'll see some moss merely May can't achieve information technology. To destroy the moss, Cody has to spray sap at the moss and connect the sap all the way to the end of the wooden planks.
May can then shoot the sap at the edge of the planks (image below) and it will explode all the way to the moss. This will lower the bridge.
Once you've crossed the bridge, May has to shoot the target behind the gate.
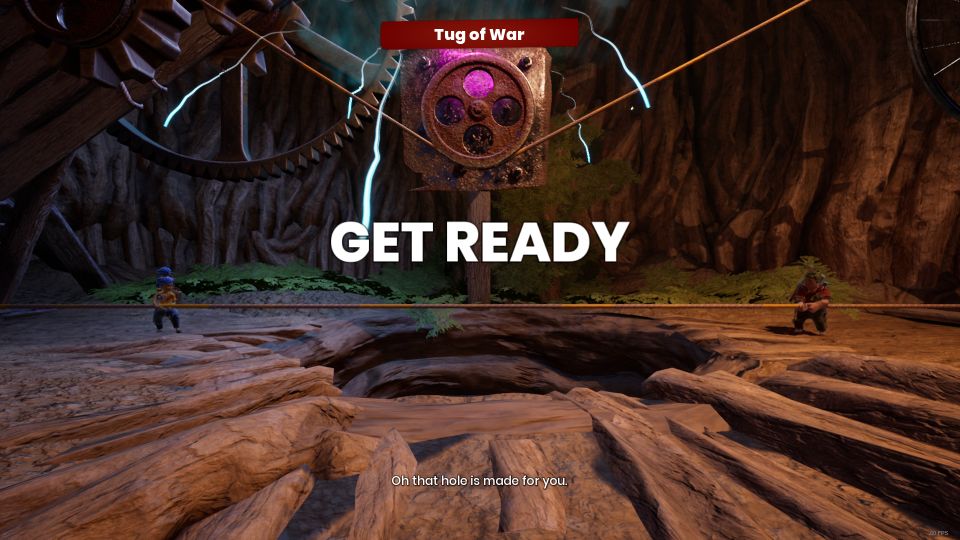
Tug of War minigame
You will and then come beyond a Tug of State of war minigame which is for fun.
Back to Captured
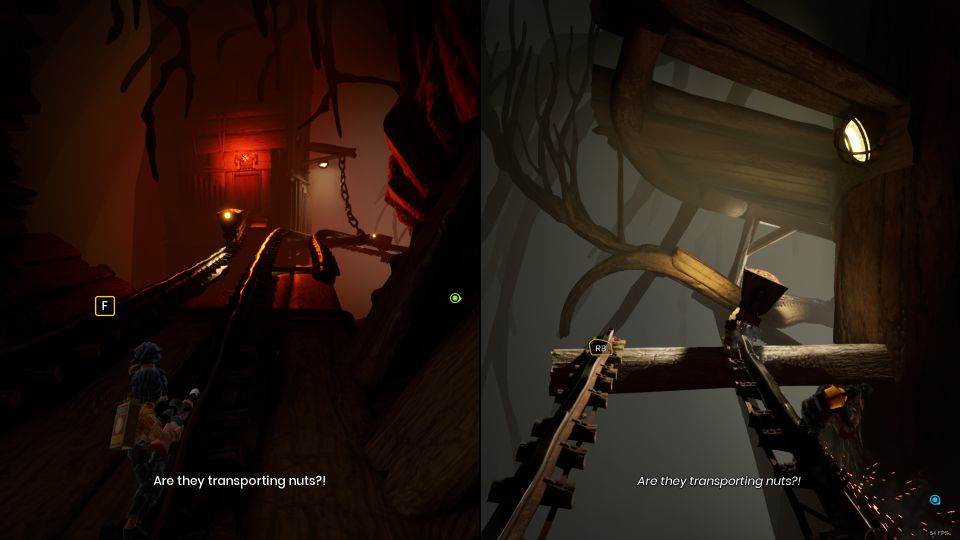
Later the minigame, employ the railings to become forward.
This part requires you to switch railings to avoid obstacles.
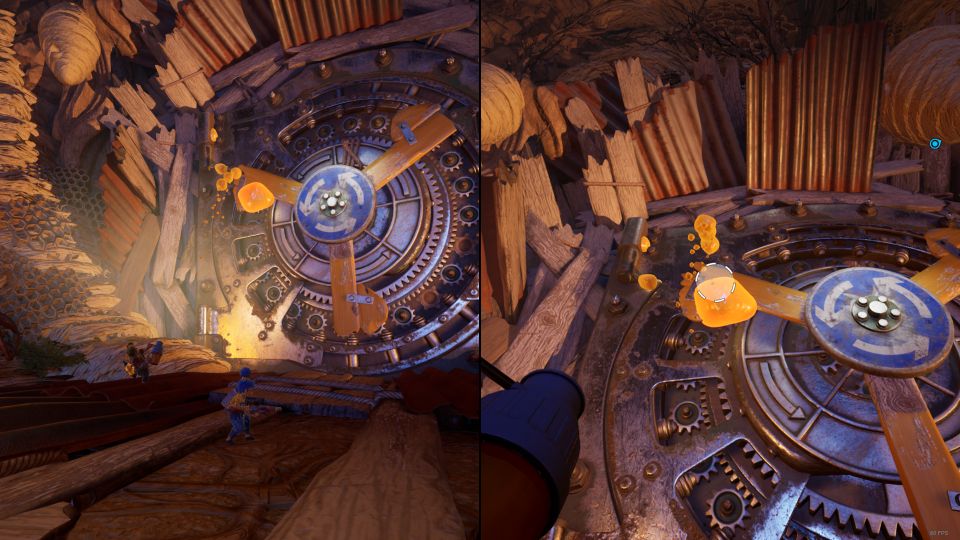
You will finally attain a big gate made upwardly of a cog. To spin the cog, shoot sap at 1 of the wooden planks.
Some wasps will spawn. Kill them all.
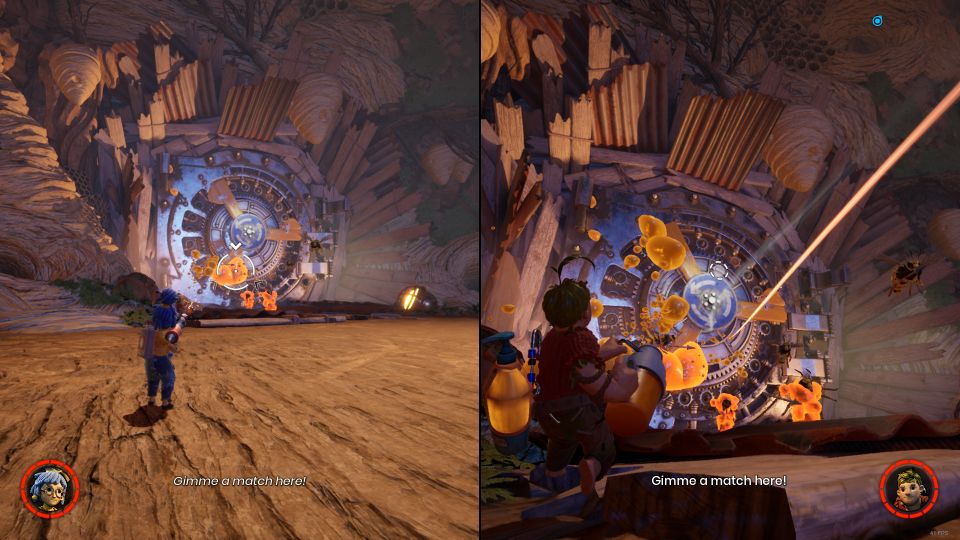
Continue to put sap onto the wooden plank to movement the cog. A shield wasp volition and so appear.
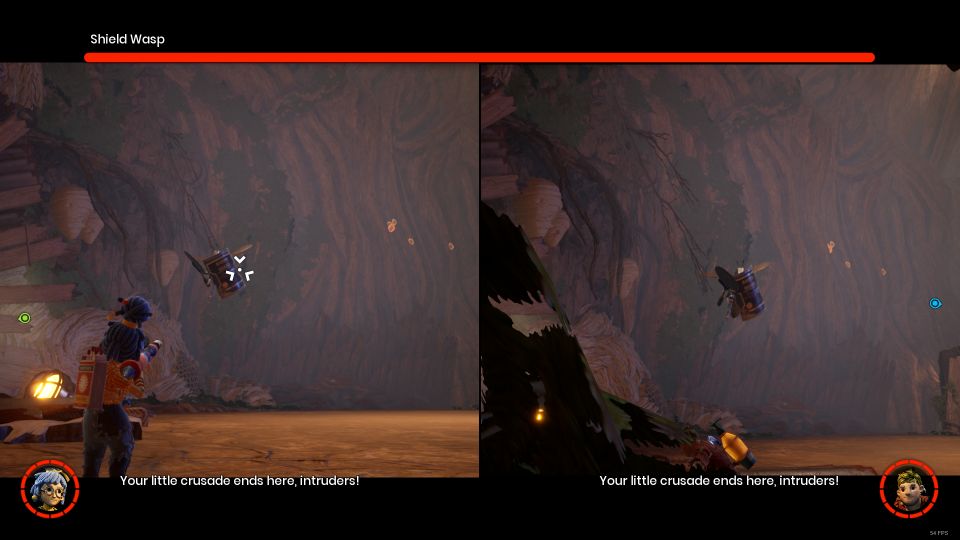
Boss fight – Defeat the Shield Wasp
Y'all will get the first boss fight here. You simply need to defeat the shield wasp.
This wasp uses a shield in front of him, which ways you need to spray sap behind the wasp where he's vulnerable.
His attacks tin can be easily dodged and he targets one player at a time. To beat the boss, you just demand to spray sap at the back and May has to explode the sap.
Go on the procedure until he'due south downwards.
Deeply Rooted
The adjacent section is titled Deeply Rooted.
Y'all will come beyond plenty of larva. Destroy them the same way (combination of sap and gunshot).
Yet, they'll keep spawning until you destroy the nests. There are a few nests to exist destroyed.
In the adjacent part, apply your rope to swing to the other side.

You will now come across some elevated bottles with wasps inside them. To bring downwardly the offset canteen, use the sap and gunshot combo.
Some wasps will spawn. Kill them all.
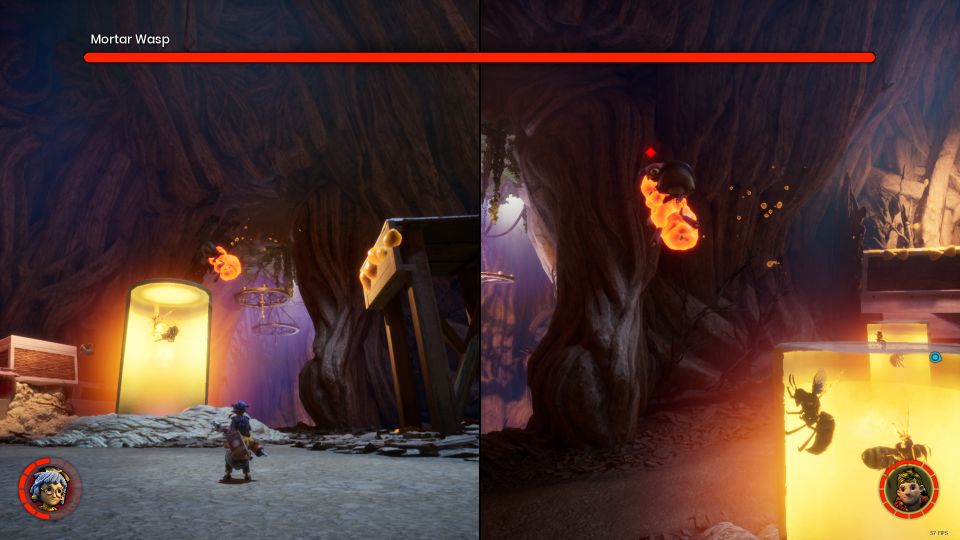
Boss fight – Defeat the Mortar Wasp
After bringing downward the second bottle, a Mortar Wasp dominate volition appear.
He shoots green assurance which can exist avoided by dodging. Like earlier, employ the sap and gunshot combo to defeat this dominate.
Back to Securely Rooted
Afterward the boss fight, keep bringing downward the third bottle and climb on information technology.
Use sap to lower the platform.

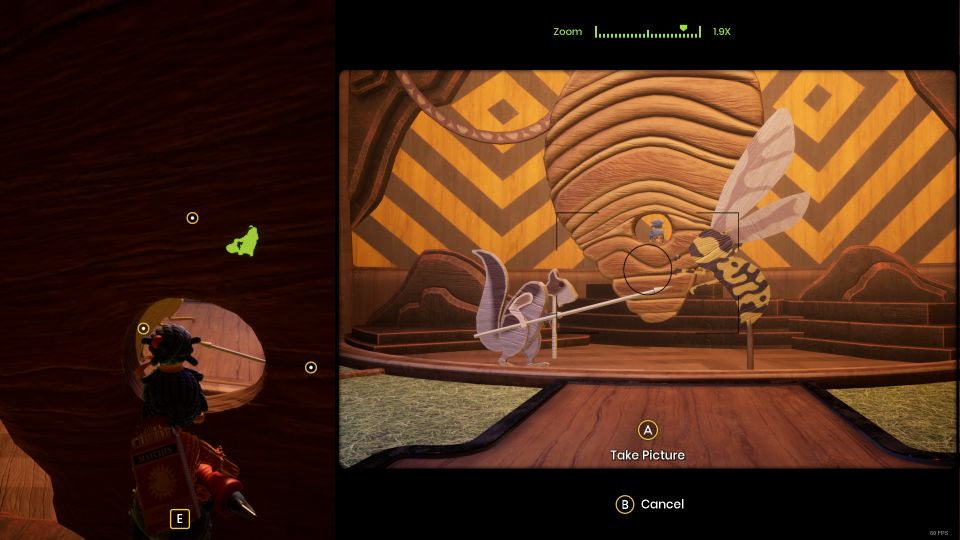
Yous will achieve a photo-taking area. You can play around with the photographic camera and the two different backdrops.
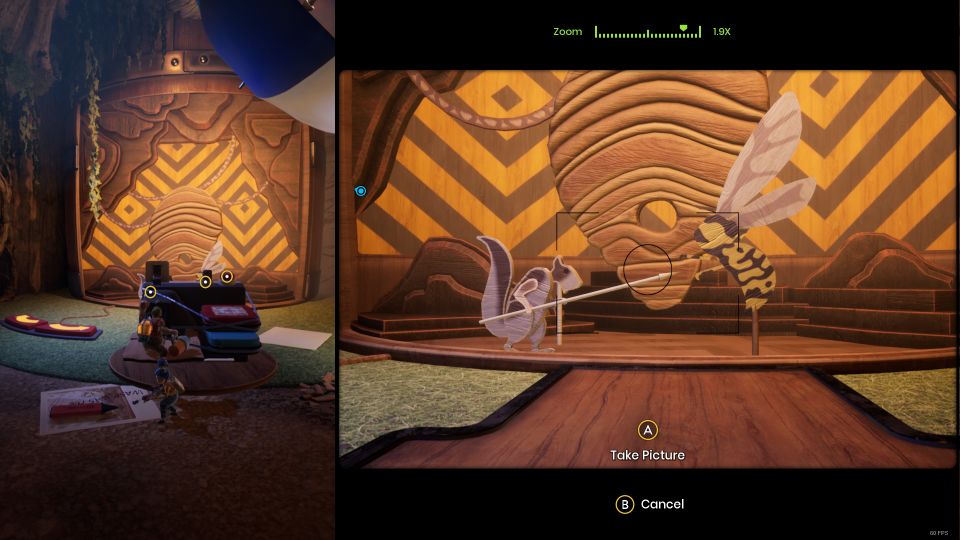
You can also use the right-side push to do a timed photo.
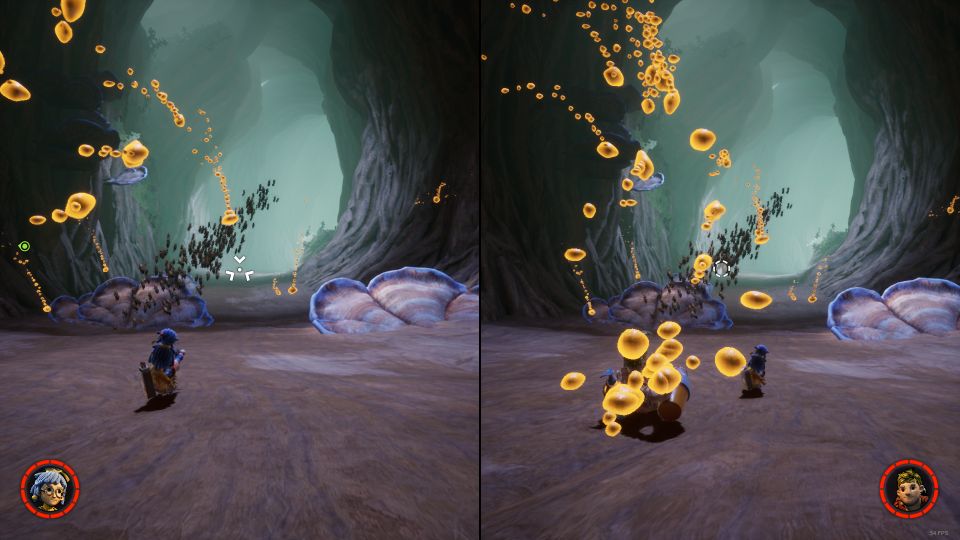
Once you're washed, continue ahead and y'all'll see a swarm of wasps.
Kill them using the explosion combo as always.
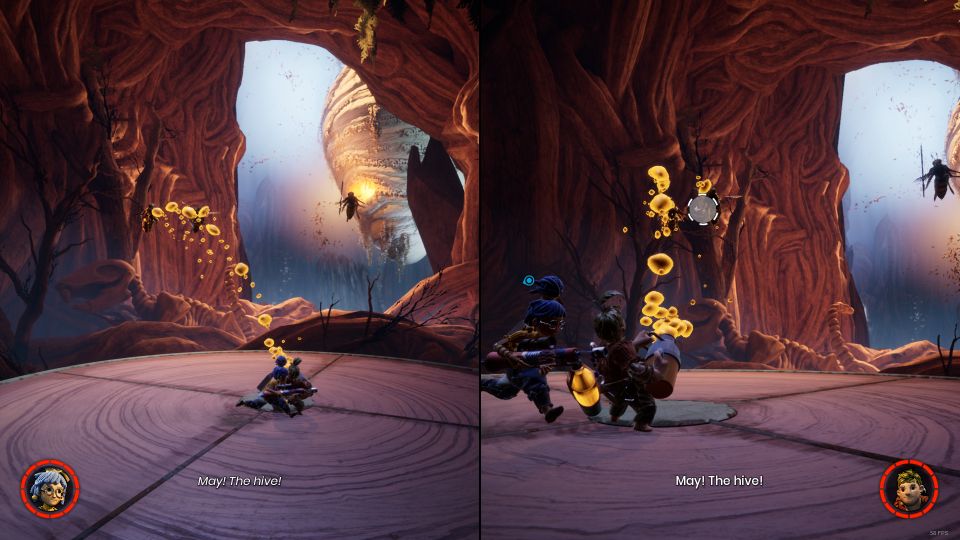
Once you're done, yous will be sliding down. Cody has to spray sap while May shoots the sap to impale the swarms blocking the way.
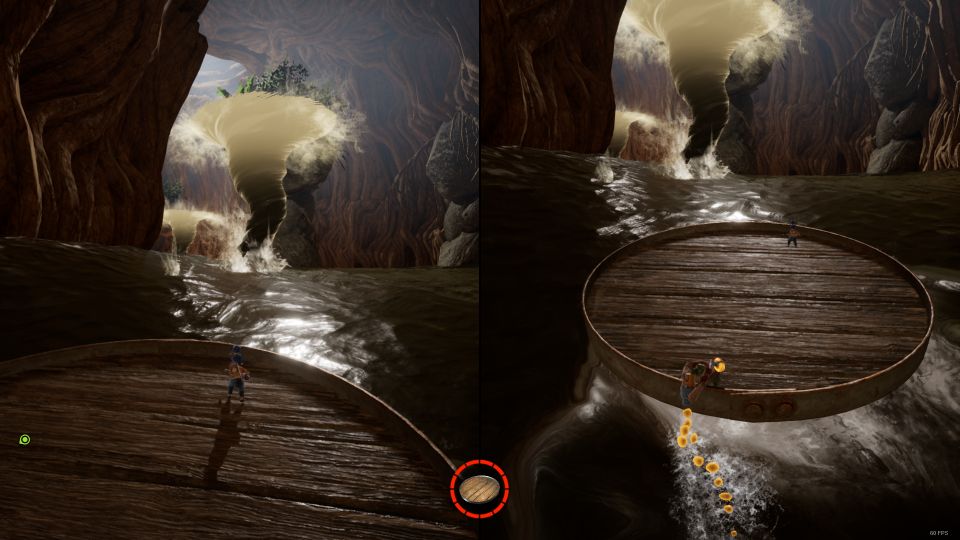
You will then reach an area where you have to use a barrel lid equally a boat. Cody will control the gunkhole with his sap gun.
May has to shoot the glowing larva from far to avoid the boat taking damage.
You lot will come up across a wooden gate. Shoot the target at the right side to elevator the gate.
Continue forward and you'll see some tornadoes formed past swarms.
Avoid getting sucked in.
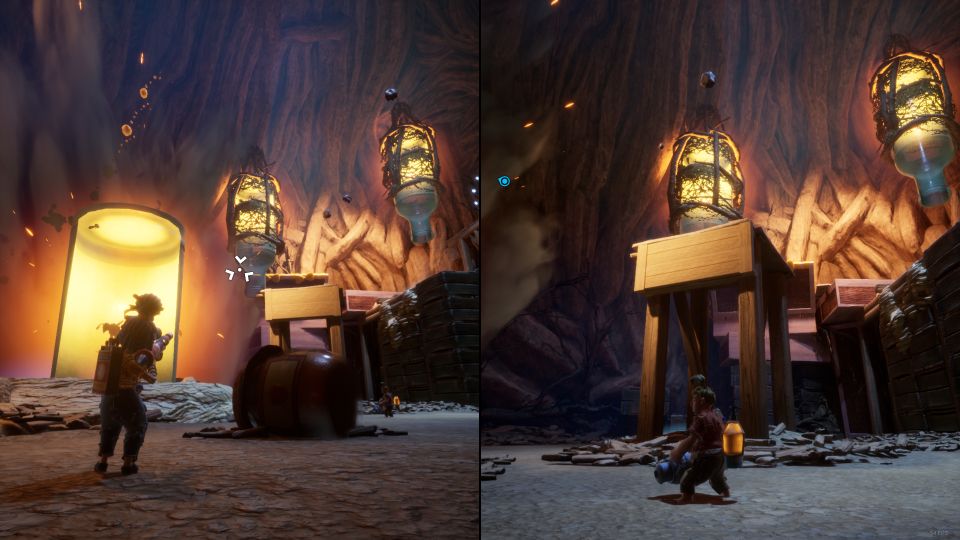
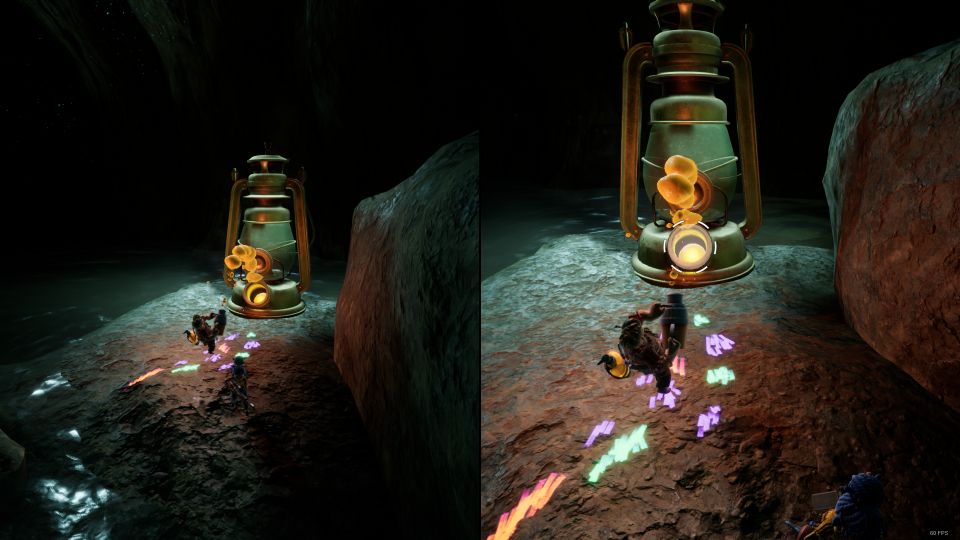
Finally, y'all'll reach a expressionless end (for the boat) and you lot'll see a lamp. Utilize the sap combo to power up the lamp.
You will then be able to come across the next path.
Later, yous'll meet some jellyfish. Jump on the jellyfish to reach the side by side office.
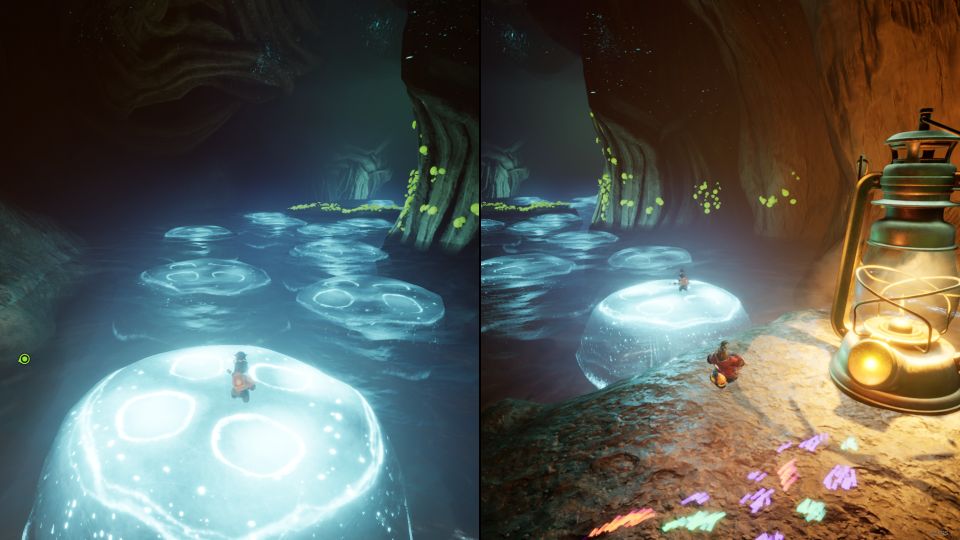
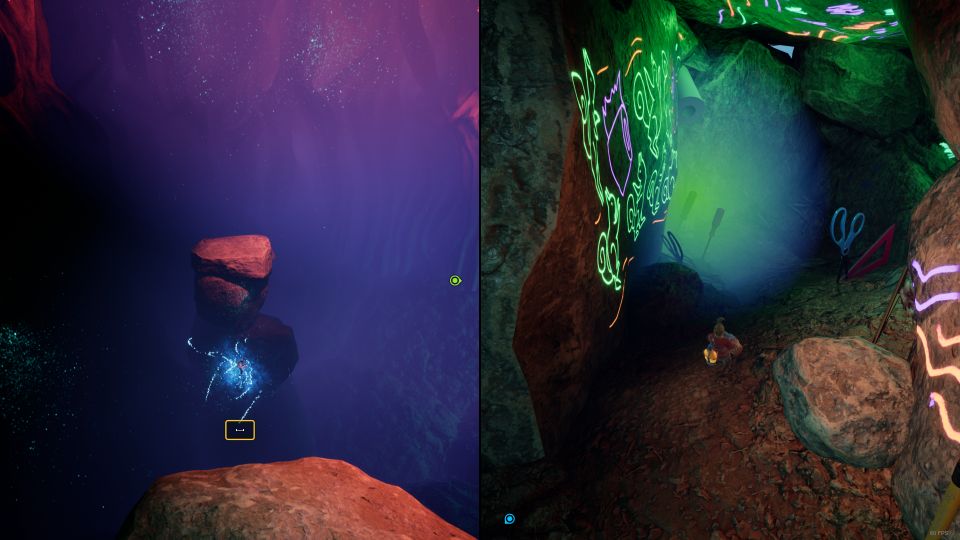
Light upward the next lamp and you'll see a new area with very absurd graffiti.
Proceed going until yous see a blue energy. Jump into the blueish free energy thingy and you'll be able to spring to the next blue energy.
Just follow the path.
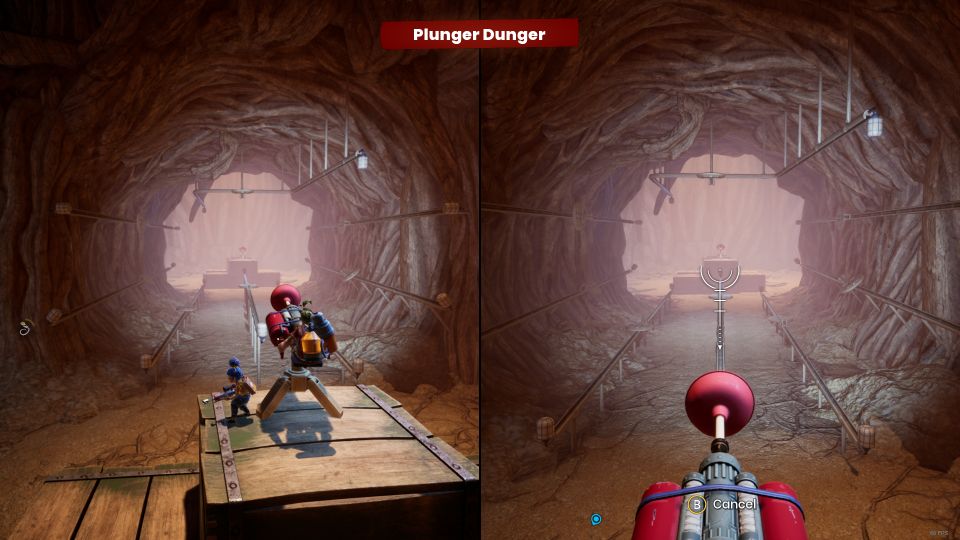
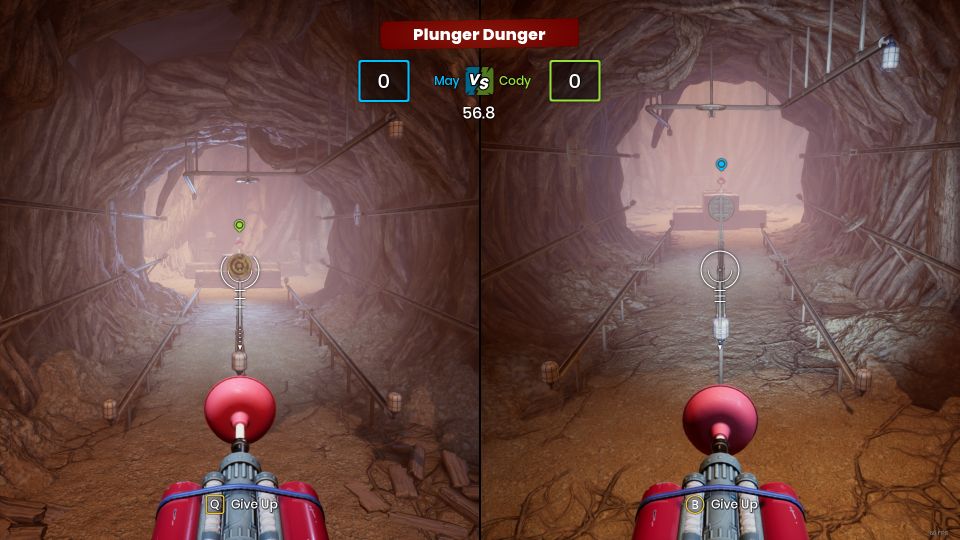
Minigame: Plunger Dunger
In the next expanse, you'll see a Plunger Dunger mini game. Each player has to shoot targets and you win points if the targets reach the opponent's finish.
The role player with the most points subsequently the time is upward wins.
One time you're done with the minigame, continue forward. You'll meet a bluish energy ball once more. Use it and you'll reach a circular piece of woods.
Acme-downward woods area
In this part, you have to avoid the wasps with saws. At least one player has to be live at all times.
After y'all're done with this part, yous will take to defeat more wasps.
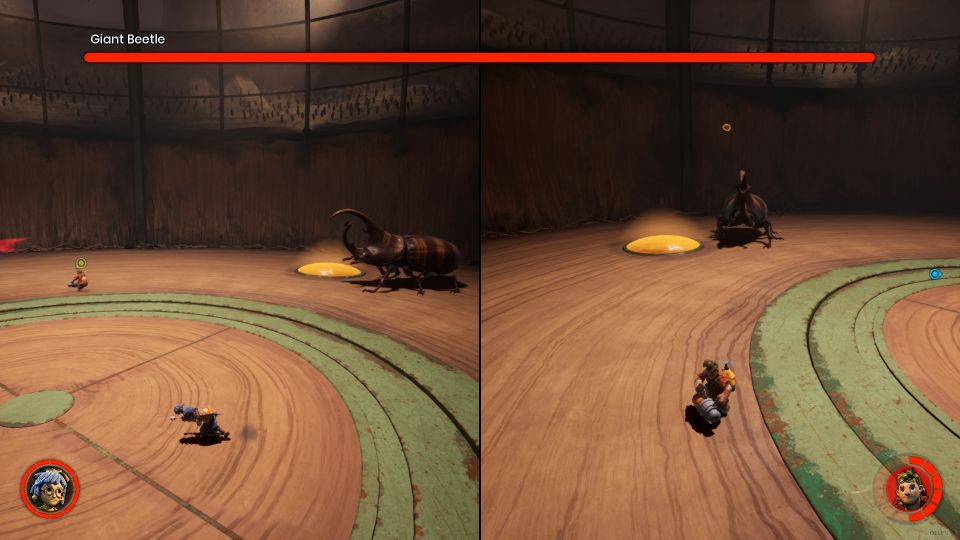
Boss fight: Defeat the Giant Beetle
You will then encounter a new boss fight, i.eastward. to defeat a Behemothic Beetle.
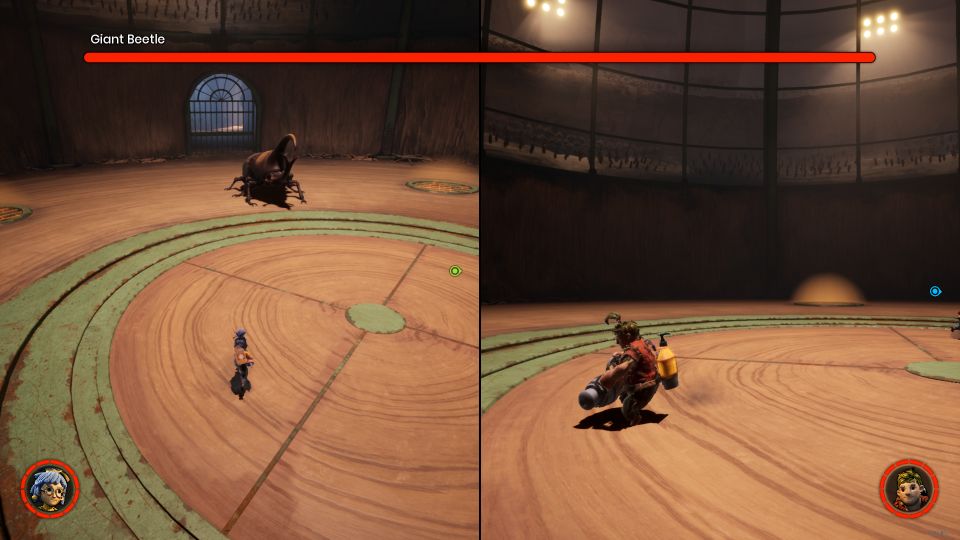
The strategy to win is simple. You demand to fill up upwardly those holes surrounding the loonshit with sap, until you lot see the sap popping out.
Then, lure the behemothic beetle to go over the sap-filled hole. Shoot the sap when the beetle is directly in a higher place the sap.
This will reduce the HP of the beetle. Rinse and repeat until yous win.
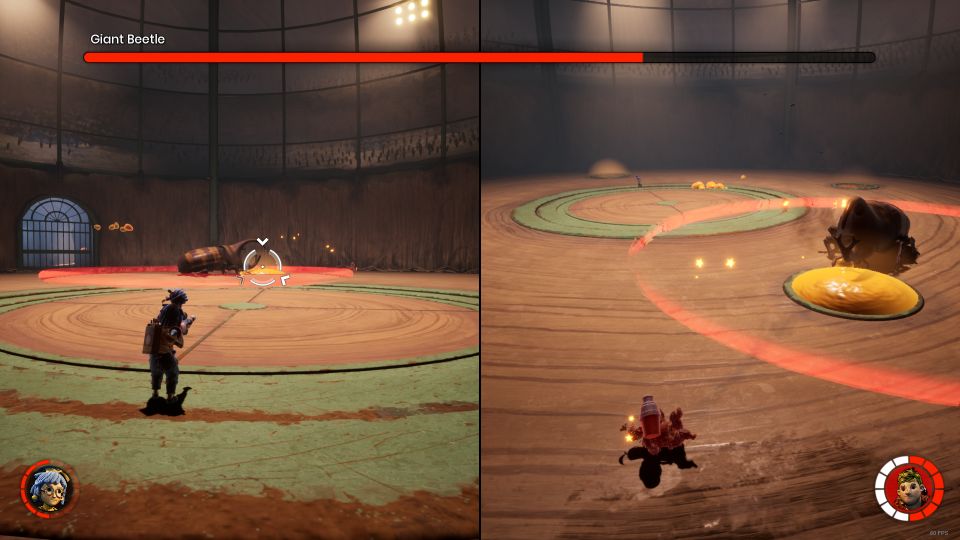
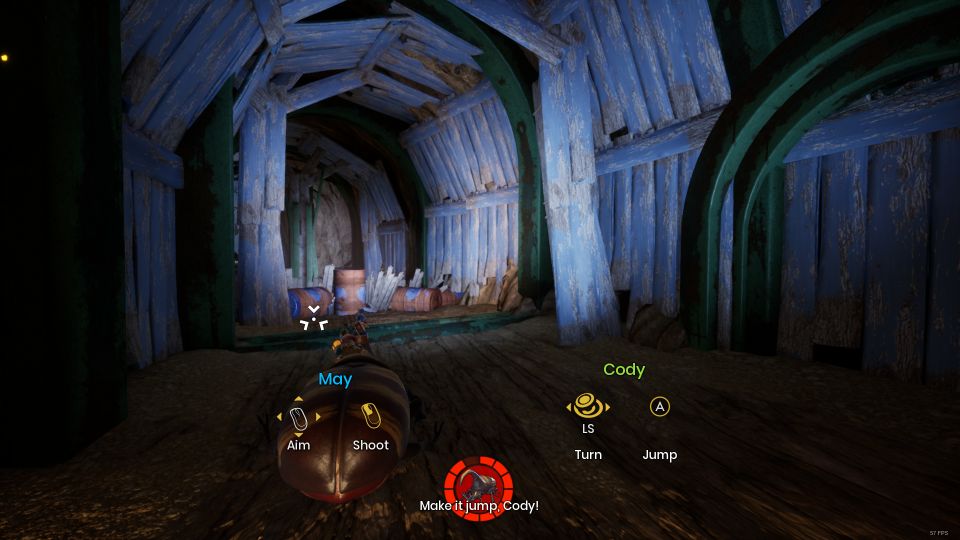
After the battle, Cody and May volition escape the loonshit with the Behemothic Protrude.
Cody has to practice the movements while May has to do the shooting.
Dominate Fight: Defeat the Wasp Queen
Finally, you'll face up the Wasp Queen.
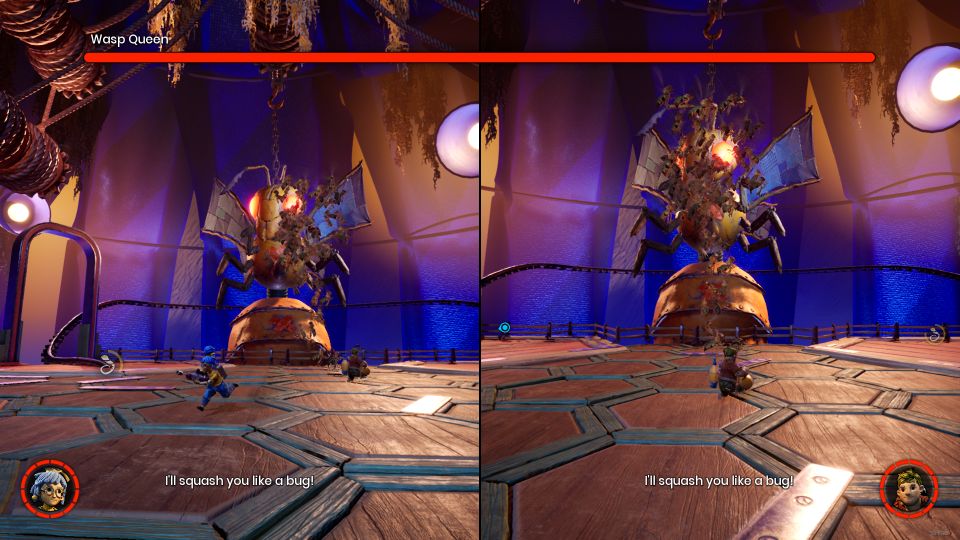
To lower the wellness, just spray sap all over the queen and shoot the sap. At that place volition exist swarms around to protect the queen. Destroy the swarms as well if they're blocking you from the queen.
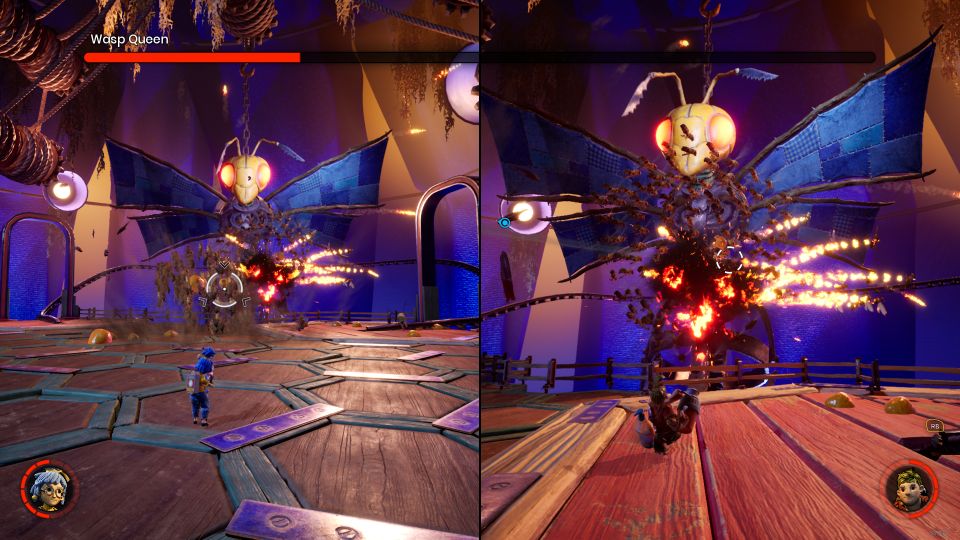
Y'all can also employ the railing to go behind the queen to plant saps. The aim is to get rid of the armor protecting the animal inside the imitation queen wasp.
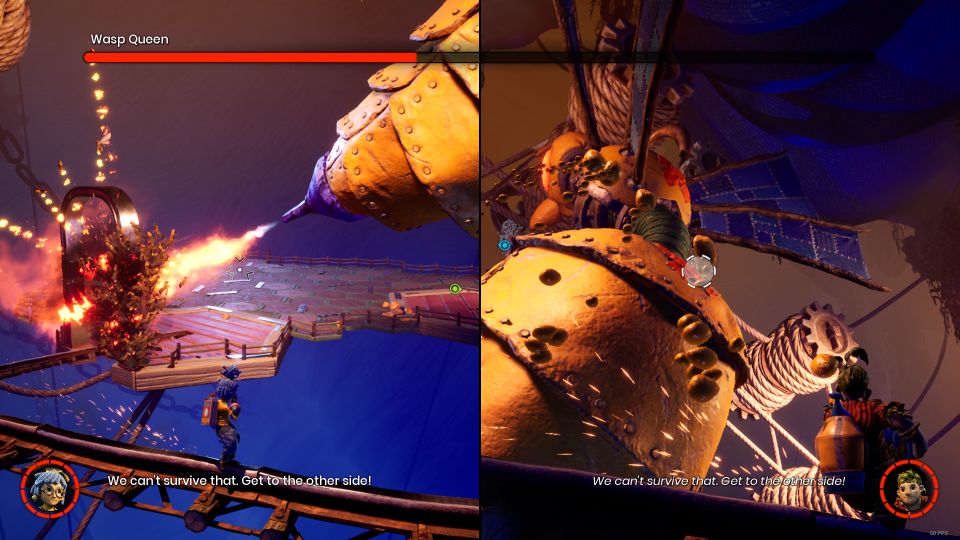
After the health drops to one-half, the battle gets tougher. You may exist subjected to a tiptop-down swarm fugitive part.
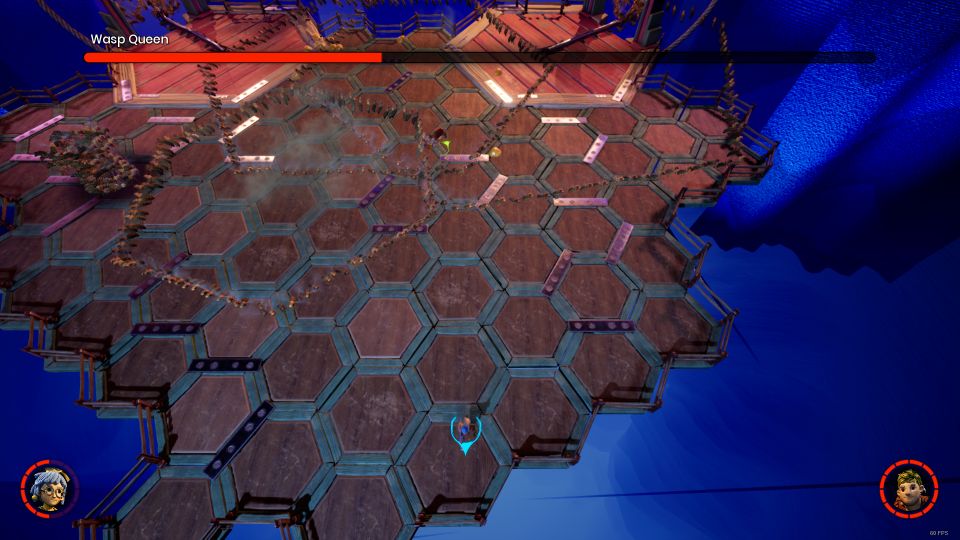
Afterward the acme-downwards section, go on to damage the queen with the sap combo. You accept to get rid of the armor on the queen.
To destroy the back, you need to take turns. Cody has to go around the queen planting saps commencement while May distracts the queen from the front. One time Cody is done, May has to go around the back to shoot the sap.
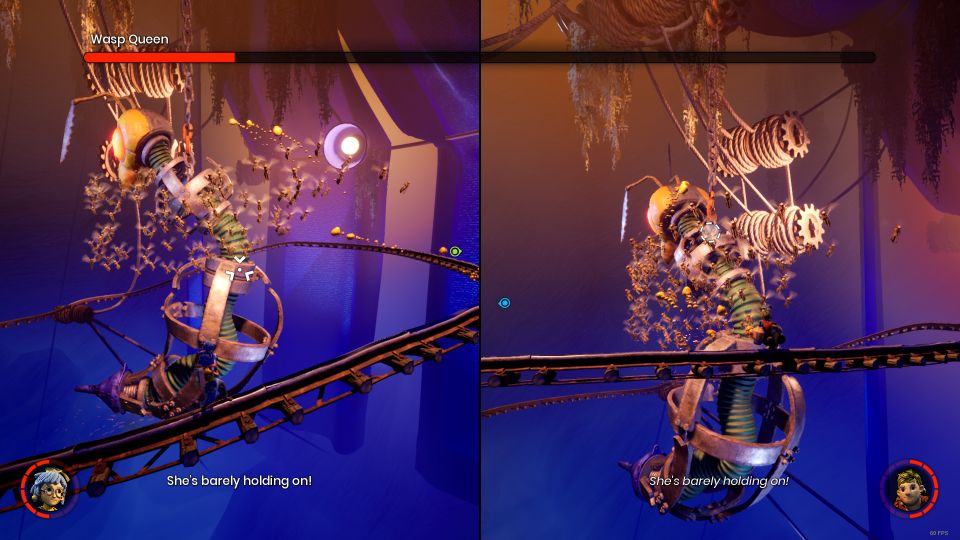
At the last stage, the fight takes place on the rail only. While sliding on the rail, y'all need to jump to avoid the swarms also.
The wasp queen has to be damaged at the chain holding the neck. Found sap at the concatenation and destroy the sap.
Go on the process until the dominate is down.
After the dominate fight, you have to escape from the squirrels this fourth dimension. Cody has to command the plane while May controls the shooting.
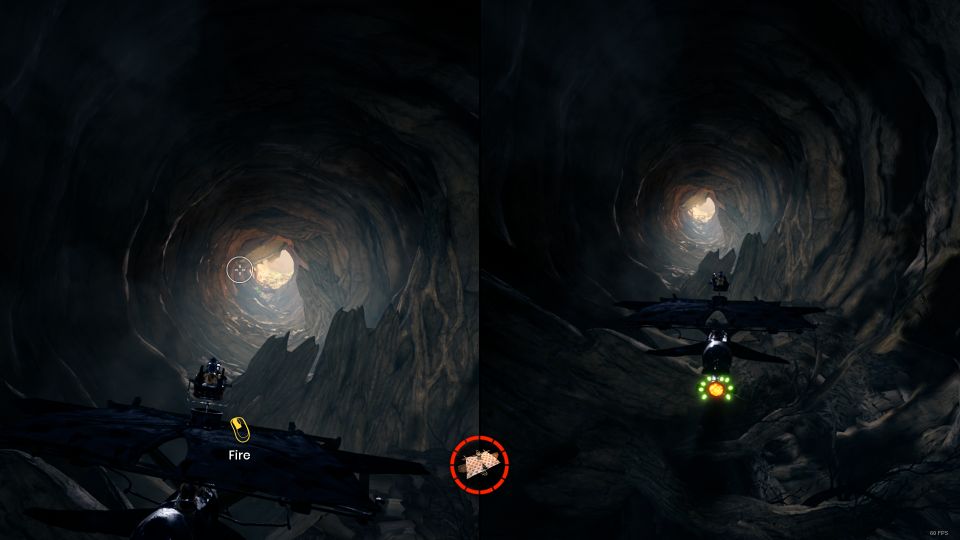
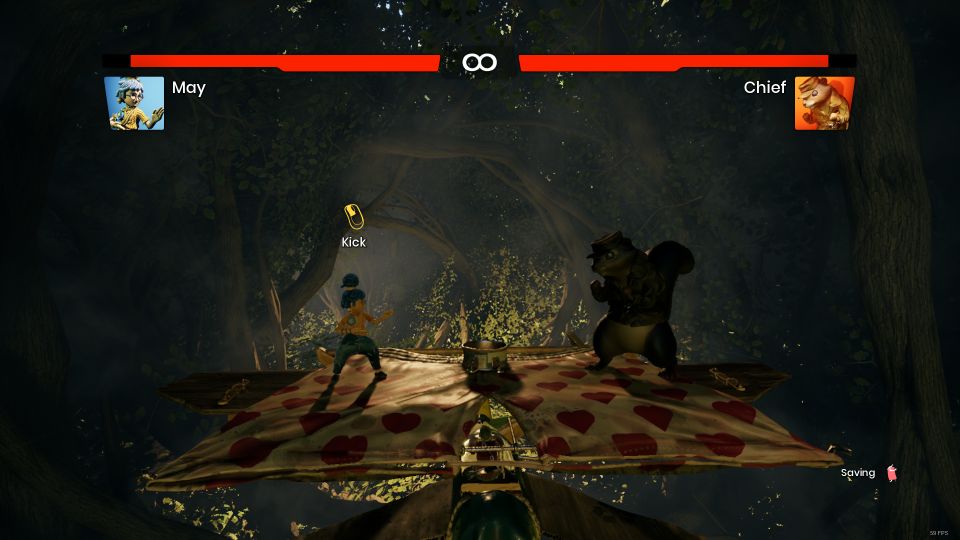
At one point of the phase, the main squirrel will jump on the plane.
May will and so need to defeat the chief in an arcade fighting style match, similar to Street Fighters / Rex of Fighters / etc.
This affiliate ends afterward escaping from the tree and into the business firm.
Related posts:
It Takes Two – The Shed (Chapter 1) Walkthrough And Guide
It Takes Two: Rose'southward Room (Chapter 3) Walkthrough & Guide
It Takes Ii: Cuckoo Clock (Chapter 4) Walkthrough & Guide

It Takes Two Walkthrough Space,
Source: https://www.ordinarygaming.com/it-takes-two-the-tree-chapter-2/
Posted by: delgadowakepten.blogspot.com
0 Response to "It Takes Two Walkthrough Space"
Post a Comment